 |
| Home | How-to Articles | Jon's eBooks & Books | Blog | Gallery | About Jon | Contact | Links |
|
||||||||
|
||||||||
|
||||||||
|
||||||||
|
||||||||
|
||||||||
|
|
||||||||
|
||||||||
|
||||||||
|
||||||||
|
||||||||
|
||||||||
|
||||||||
|
||||||||
|
||||||||
|
||||||||
|
||||||||
|
||||||||
|
||||||||
|
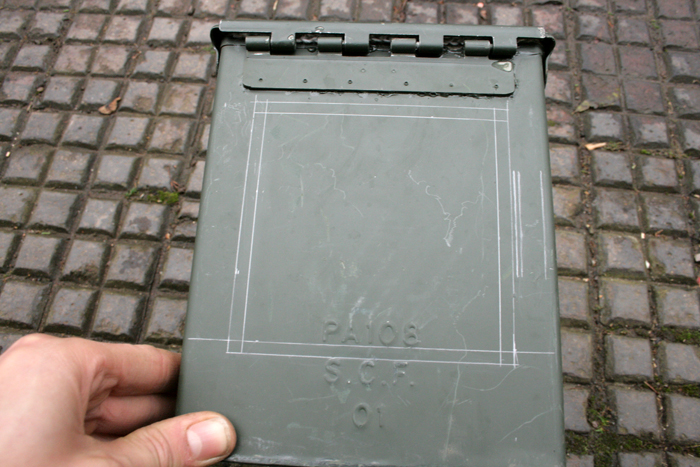
Stage 2 |
||||
 |
 |
|||
|
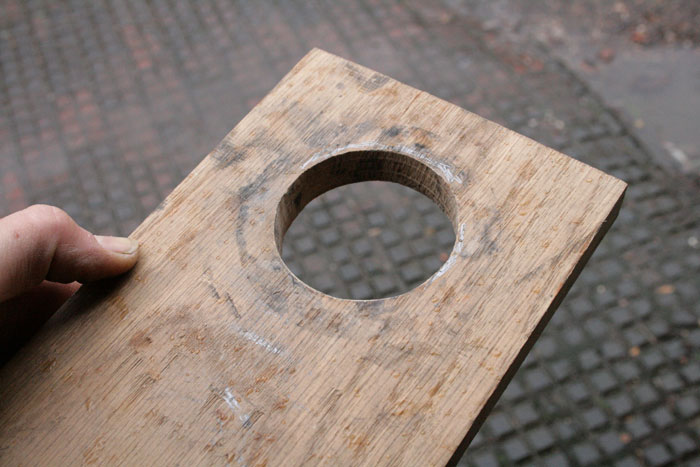
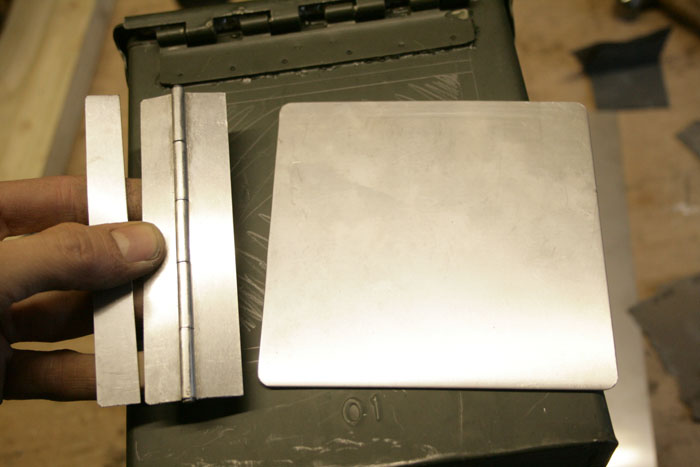
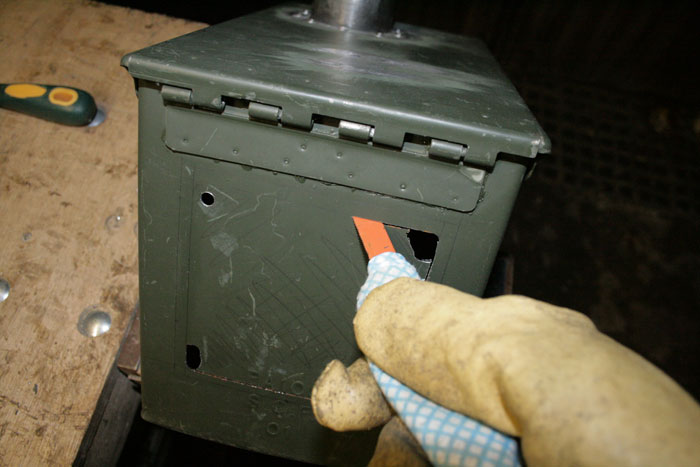
Door size is marked out. The door will overlap the opening slightly. |
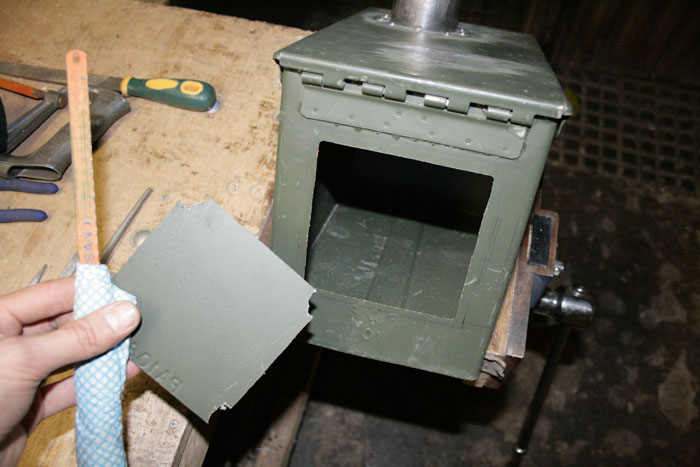
materials for the door: some sheet stainless steel and a section
of aluminium 'piano hinge', all sourced on the internet. pieces were
cut to size using a hacksaw. the strip of metal on the left will be
fixed behind the left hand side of the hinge to bring the hinge
level on both sides. |
|||
 |
 |
|||
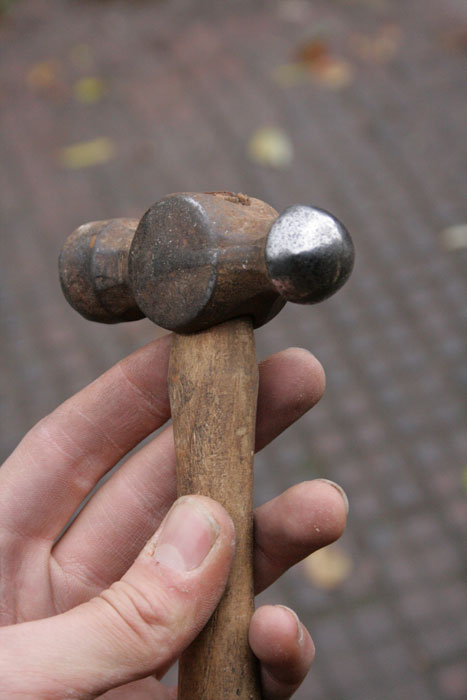
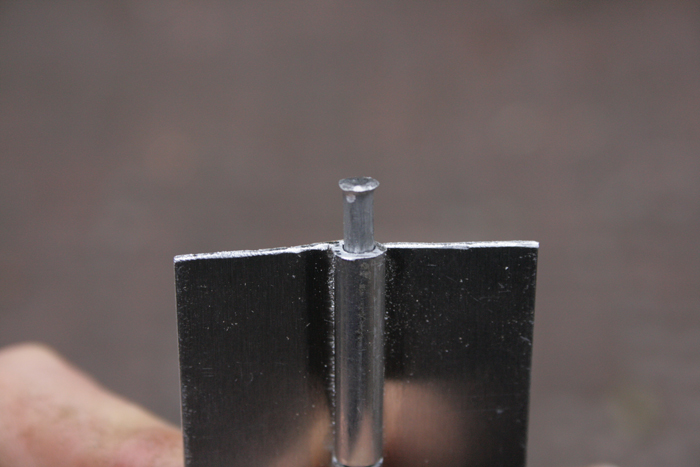
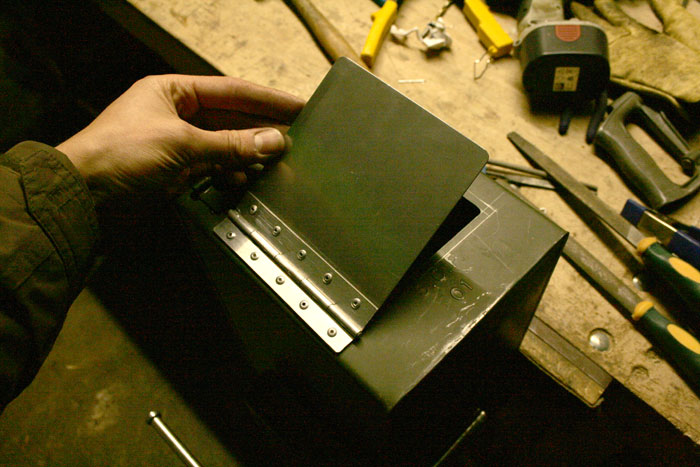
| The pin in the centre of the hinge is knocked
through slightly, the end then crimped over very slightly using a
hammer, and then knocked back into place. This will stop the pin
moving or even falling out.
|
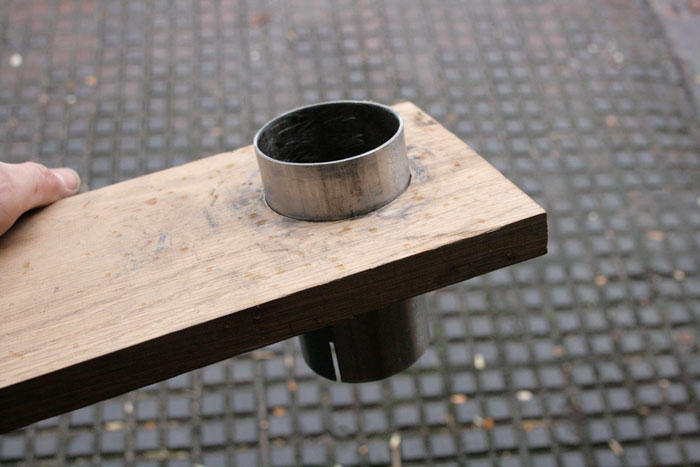
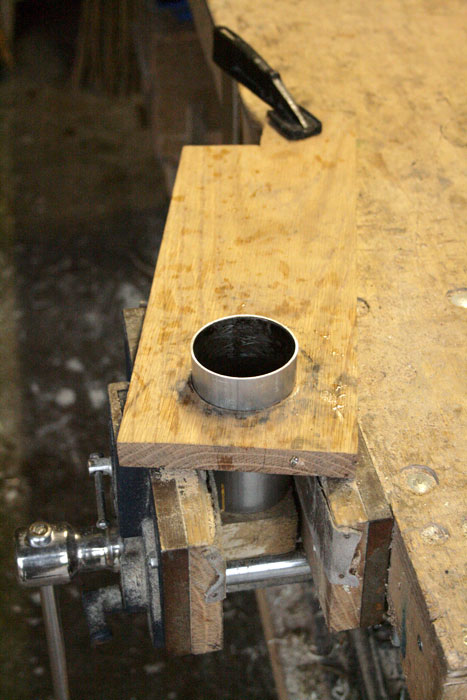
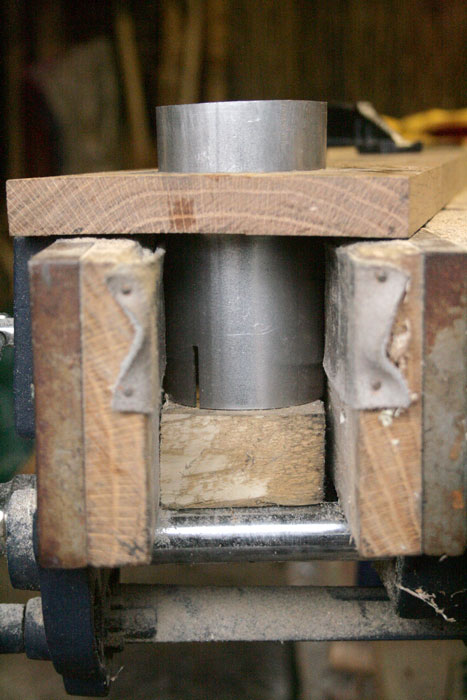
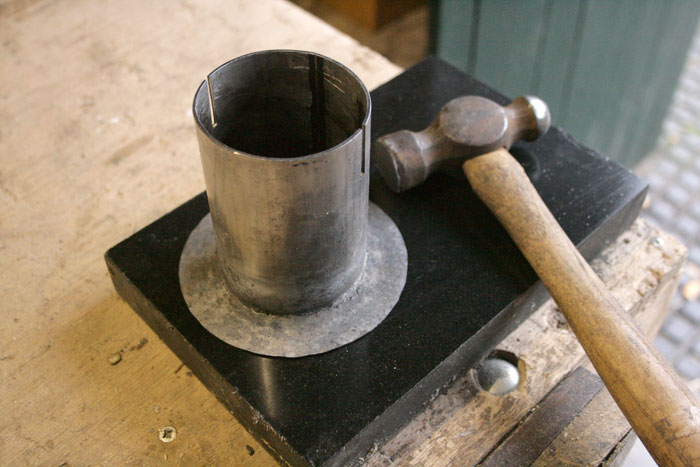
I cut the door opening out by firstly drilling a starter hole big enough to get a hacksaw blade in. I then gripped The loose hacksaw blade with a rag and cut along the lines, this worked surprisingly well. | |||
 |
 |
|||
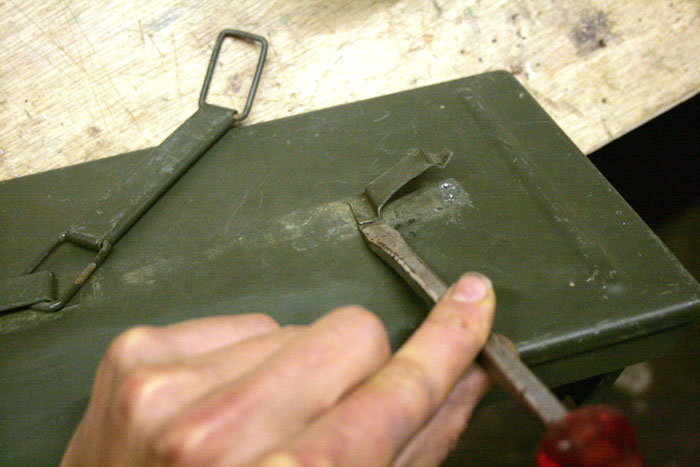
| Door fixed in place with pop rivets. Bear in mind you don't want to position the rivets so that their back-sides will prevent the door from closing fully. | ||||
|
Stage 3 |
||||
|
|
|
|||
|
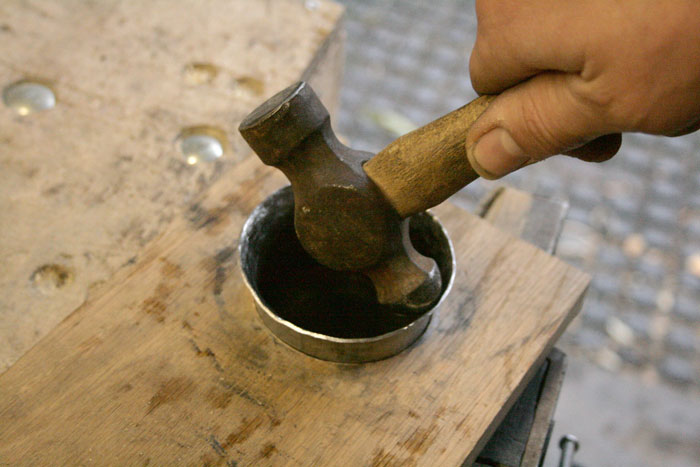
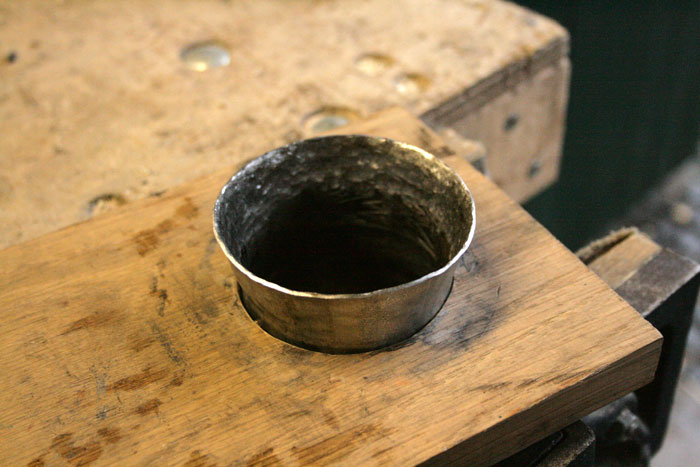
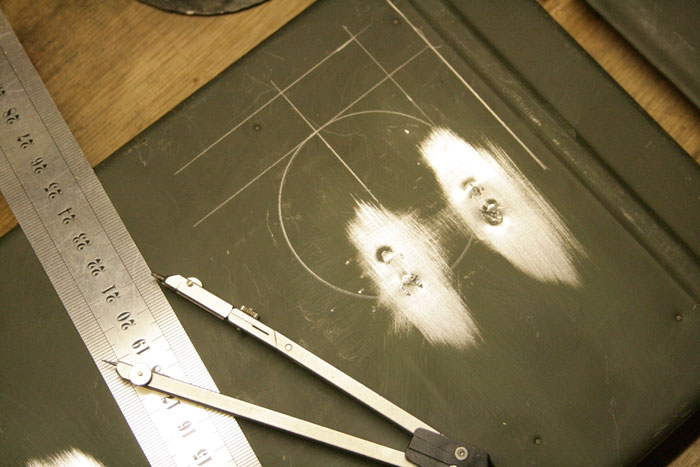
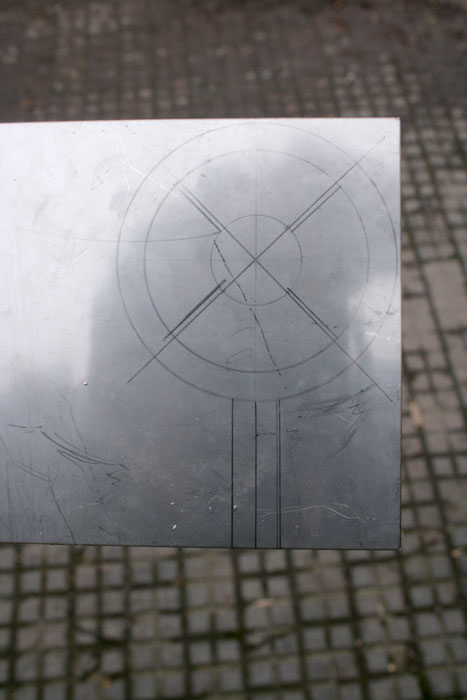
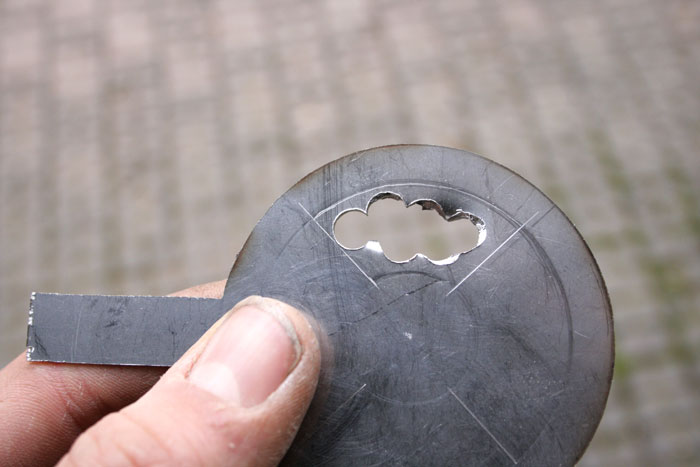
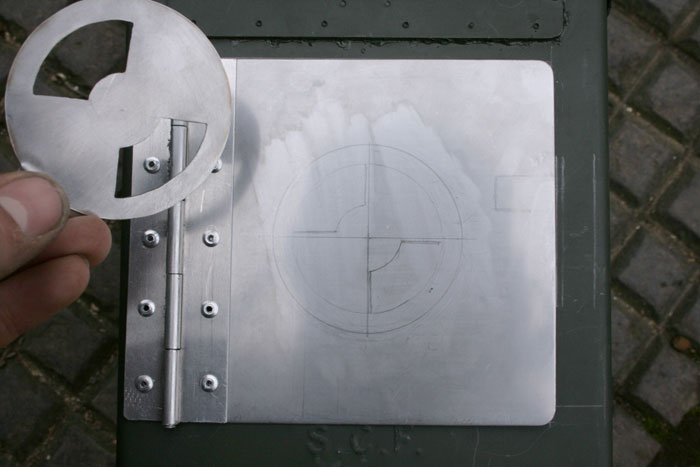
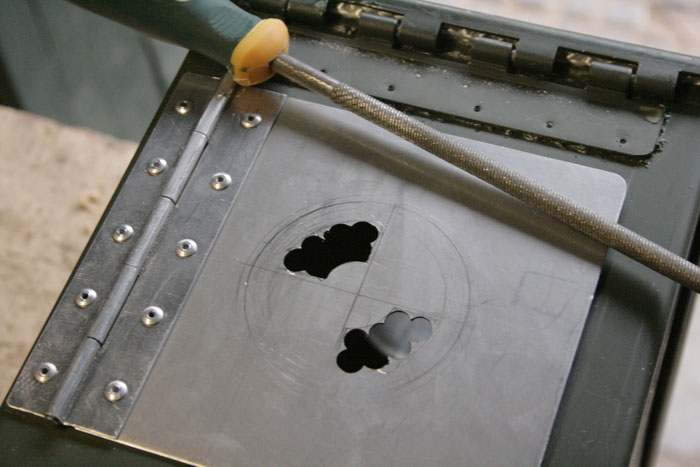
After carefully marking it all out this piece was first crudely cut out with the hacksaw at some rough angles. The shape could then be refined with some files |
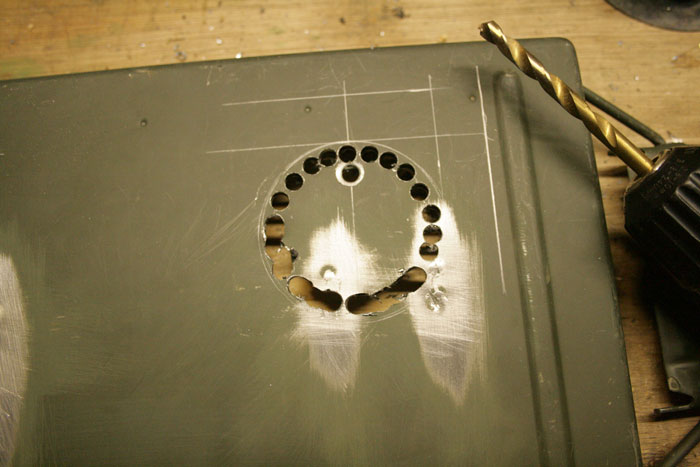
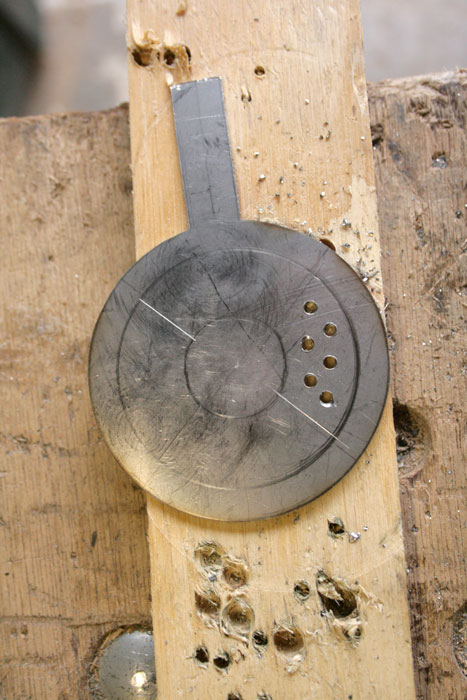
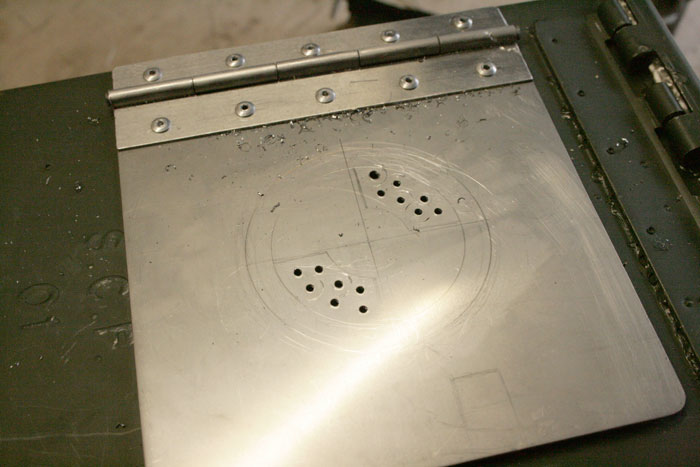
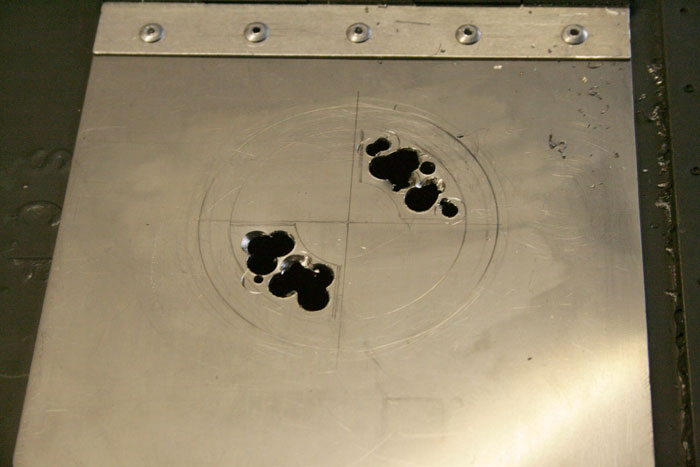
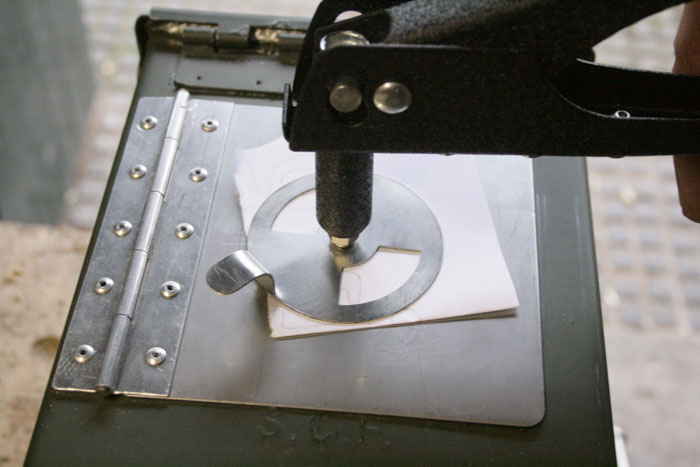
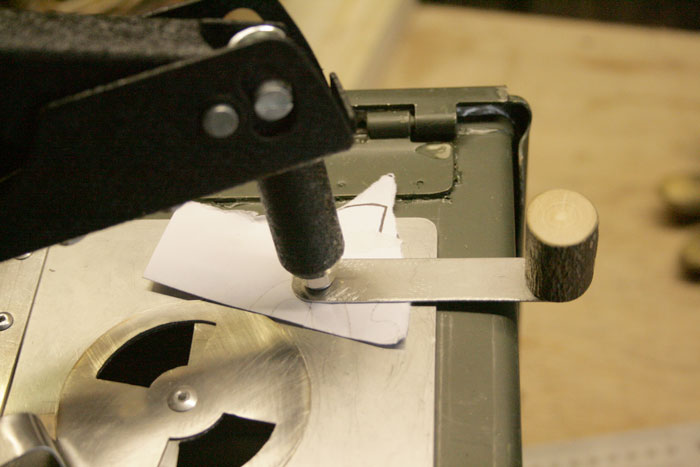
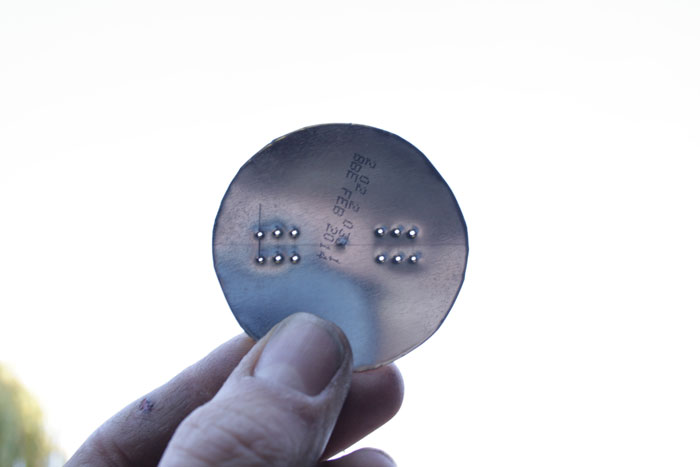
The centre holes are cut out by firstly removing most of the unwanted metal with a drill. With hard metal like this stainless steel it's much easier to make small holes first then increase the drill bit size. |
|||
 |
 |
|||
|
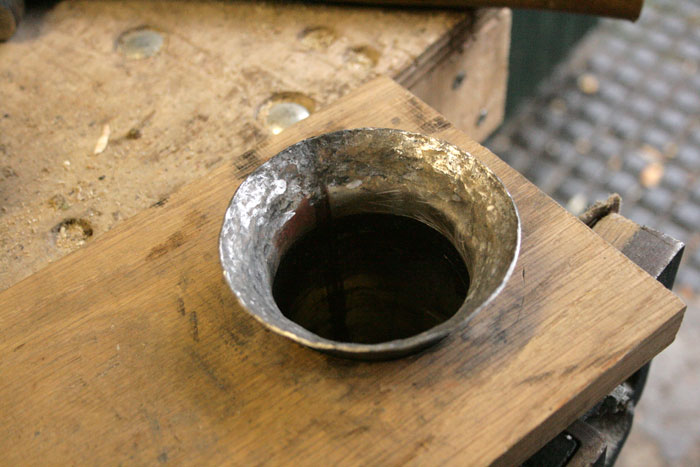
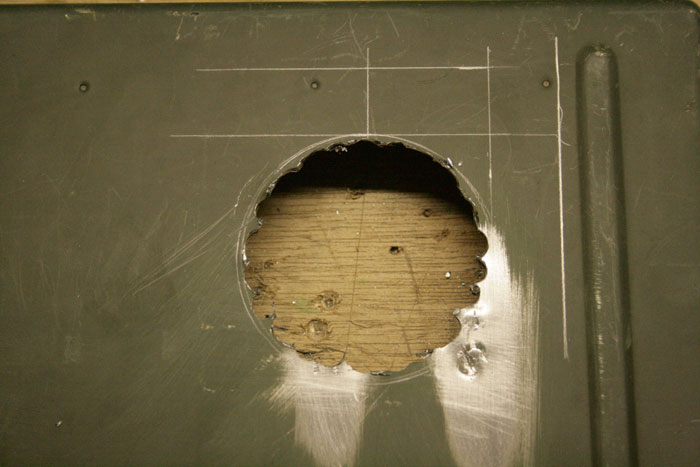
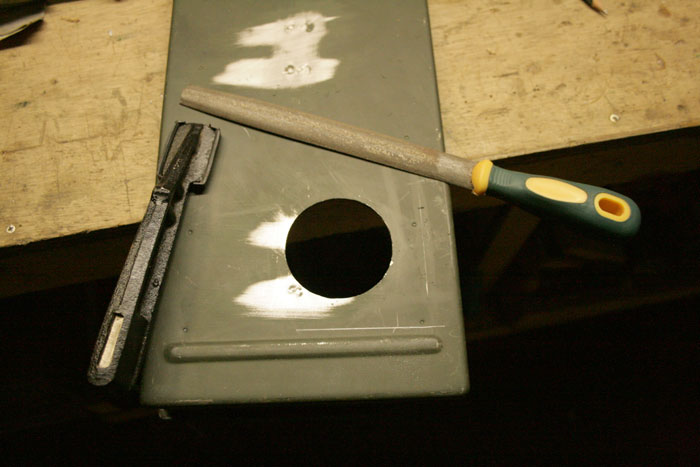
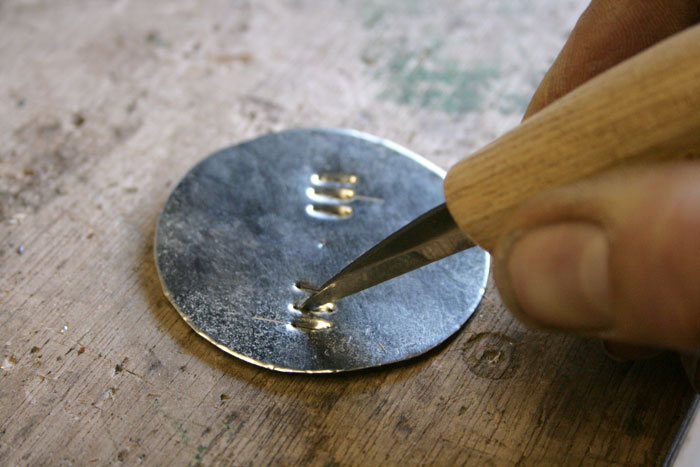
Holes refined with a small half-round file |
||||
 |
 |
|||
|
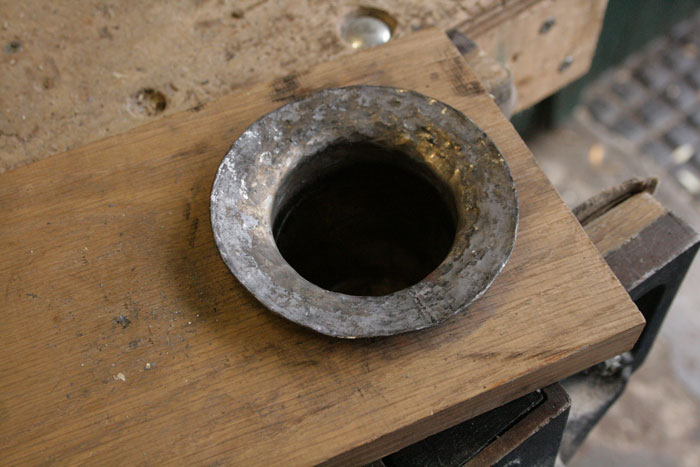
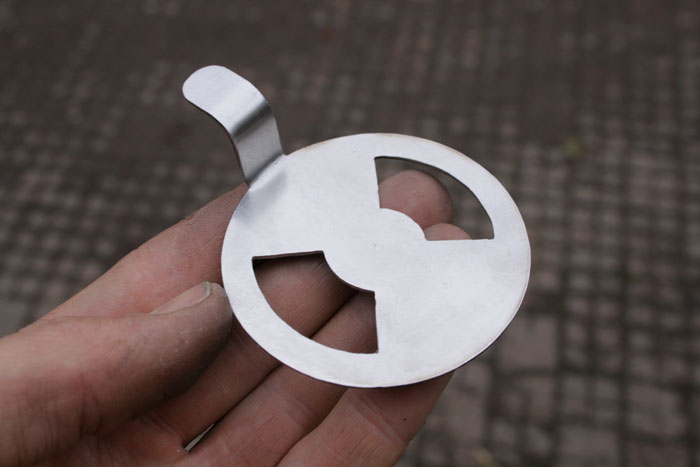
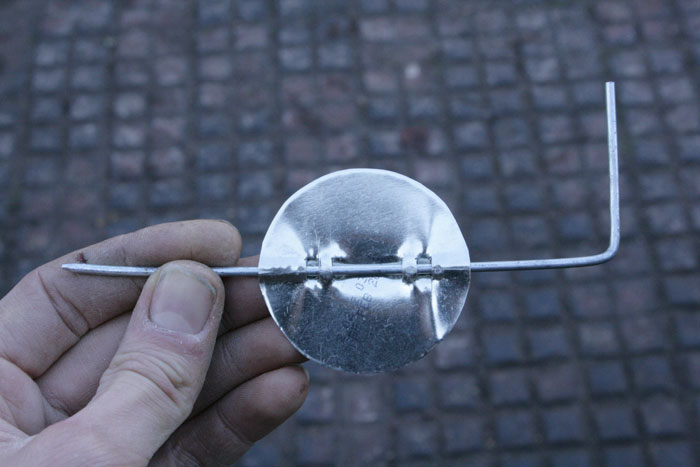
Complete piece with the handle bent into shape |
Now the design needed to be marked out onto the door and the appropriate parts cut out in the same way | |||
 |
 |
|||
 |
 |
|||
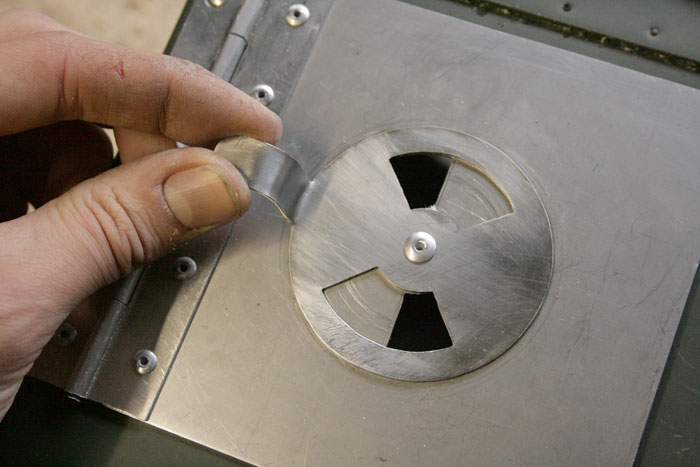 |
Finally a centre hole is drilled and the piece is secured in place with a pop-rivet. To ensure it is not too tightly secured a folded piece of paper is placed between the two pieces before riveting, it is then ripped out afterwards. This will make a snug fit but will allow the regulator to rotate. | |||
|
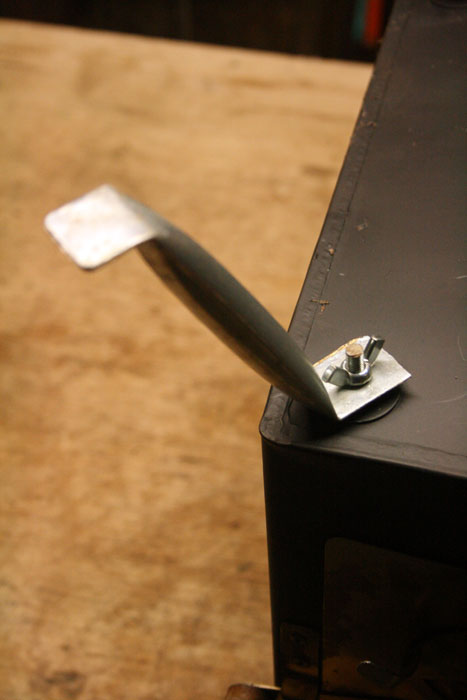
The finished regulator |
||||
|
Stage 4 |
||||
 |
 |
|||
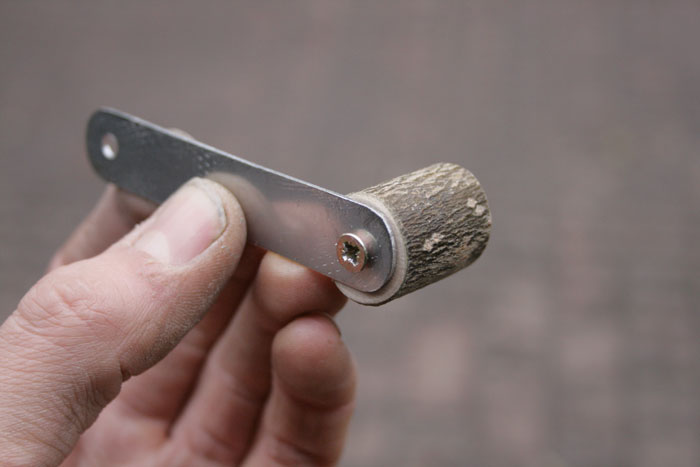
| To make the door easy to open and to save burning fingers, i made the latch knob from a piece of hardwood (Holly to be exact). I'ts just fixed in place with a small screw. | These pictures should be fairly self-explanatory. I Fixed the latch in place in the same way as for the air regulator so that it could rotate... | |||
|
|
 |
|||
|
Stage 5 |
||||
|
|
||||
|
|
||||
 |
 |
|||
|
Using a pin I made this series of holes |
With a sharp knife I then cut from one hole to its neighbouring hole to make a series of slits. |
|||
 |
 |
|||
|
The metal is then forced either way to allow a metal rod to be inserted through the middle. A hammer and bit may be needed to persuade the metal into shape. |
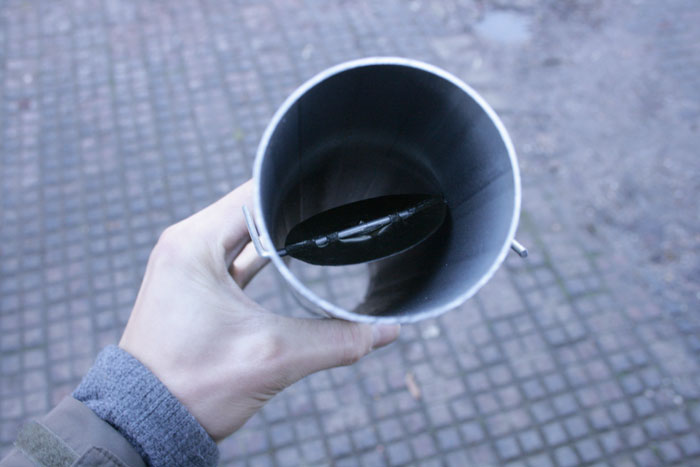
The damper before being installed with wire control handle |
|||
 |
 |
|||
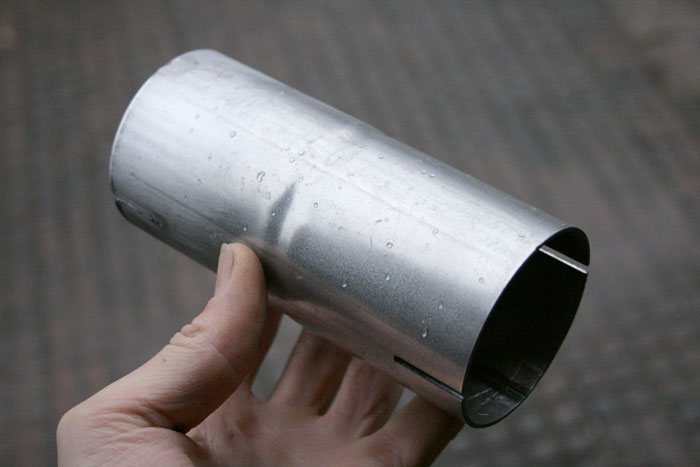
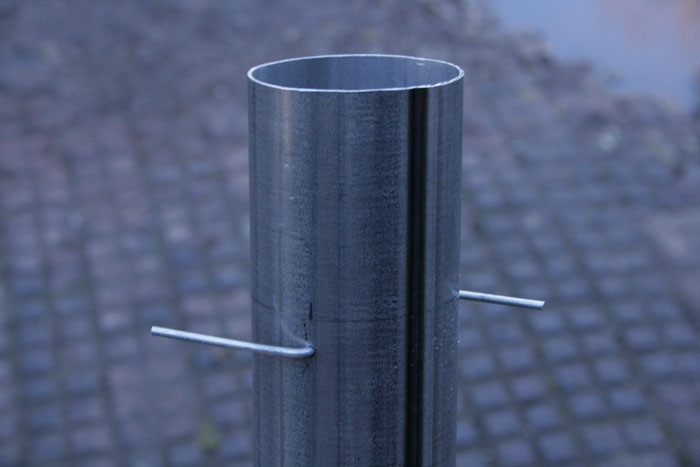
| The damper is located in the first piece of flue
pipe. To accommodate it a hole needs to be drilled through. I then balanced the round piece of tin on top of a thick piece of dowel and passed it up the flue pipe to the exact point where I needed to pass the wire handle through the holes in the flue. The handle was then shoved all the way through both the the flue and tin disk.
|
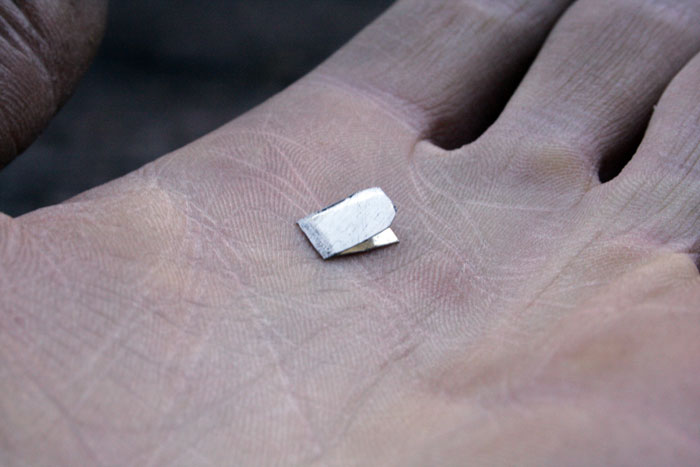
Once in place I forced a small shim of metal between the wire handle and the tin disk so that they gripped each other more firmly. Look carefully at the picture on the left, you can see it at the centre. | |||
 |
 |
|||
|
I bent the wire handle on the other side too to make it balance correctly. a damper is no good if it keeps falling open... Also, the tin disk inside is aligned parallel with the handles so that you can tell the position of the damper from the outside. |
If a greater through-flow of air is needed the handles are simply positioned more downwards. This system is really effective. |
|||
|
Stage 6 |
||||
 |
 |
|||
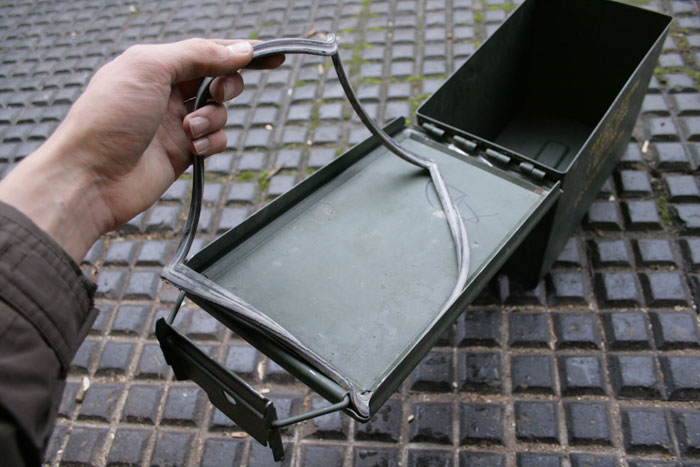
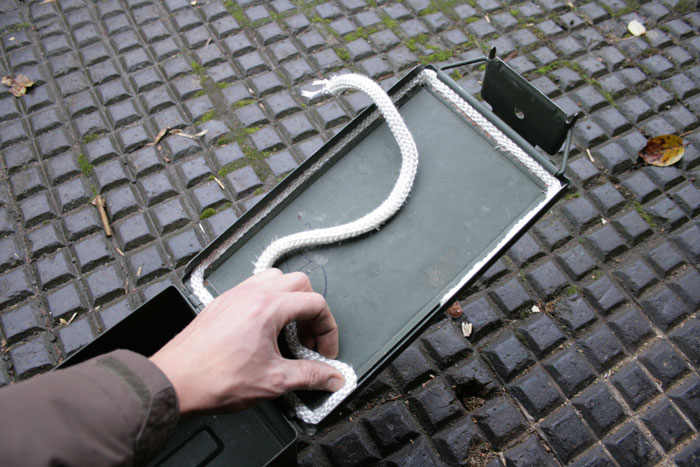
| The rubber seal from the inside of the lid needs to be levered out with a screwdriver and replaced with a length of fire rope. This will ensure no smoke escapes. Do this towards the end of the project rather than at the beginning like I did. | ||||
|
Stage 7 |
||||
 |
 |
|||
|
|
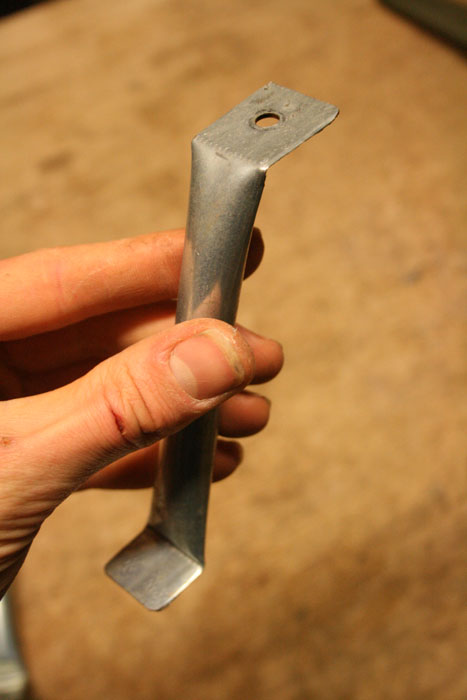
You could make legs in several ways. Bear in mind they will need to hold the stove high enough as to not heat the ground too much. with not having access to a welder this is what I came up with. Each leg is made from a section of metal pipe. I flattened the ends in a vice and bent them into position. I drilled a hole in one end which is used to bolt them the the base of the stove. In each corner on the underneath of the stove I drilled a hole and threaded a bolt through. Onto each bolt went a large washer and a nut to hold things permanently in place. When setting up the stove I simply slot the legs onto the bolts and tighten them down with wing-nuts. This way the legs can be removed and stored inside the stove; making it more portable. In future I'll consider changing these legs for something more robust. Currently these are a little springy... |
|||
|
Stage 8 |
||||
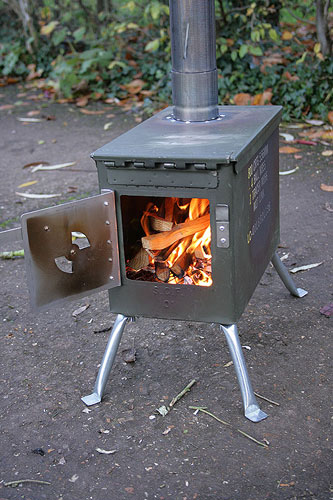
| When the stove is complete, assemble with all
sections of flue pipe then light a fire inside. Get it really hot!
Have both air regulators fully open. Burn for long enough that all
original army green paint peels off.
When cooled, use sand paper or wire wool to remove all the paint residue right back to bare metal. Now you can spray paint the whole thing with heat-proof stove paint. This will protect the metal from rusting. If you didn't remove all the original paint then your new stove paint will eventually peel off in patches. |
 |
|||
 |
 |
|||
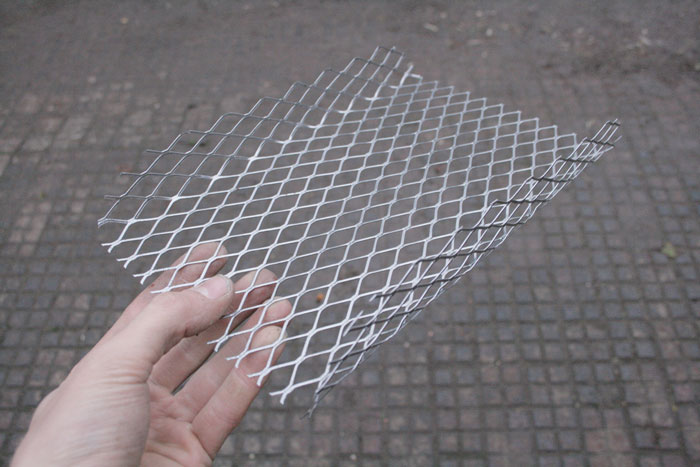
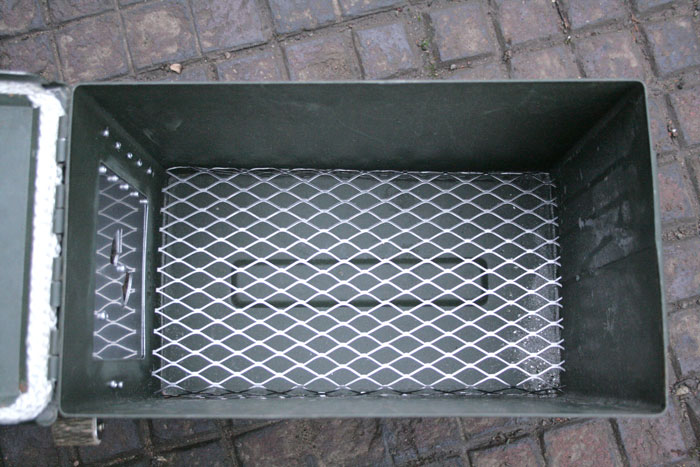
| I also decided to add a grate inside the stove to
lift the fire off the bottom somewhat. I made this simply by taking
the mesh from a disposable BBQ, bending down the edges and putting
it inside. It was a perfect fit without any cutting! With the fire
not in direct contact with the bottom, maybe this will extend the
life of the stove. NOTE: I have since learnt that many people recommend putting an inch or so of sand (or mineral soil - soil containing very little organic matter) in the bottom of the stove. With repeated use over the long term, without such protection the fire can eventually burn a hole in the bottom. this layer of sand will greatly help with extending the life of the stove. If necessary, the sand can be carried in a bag with the stove and spread out inside when the stove is assembled. |
||||
|
|
||||
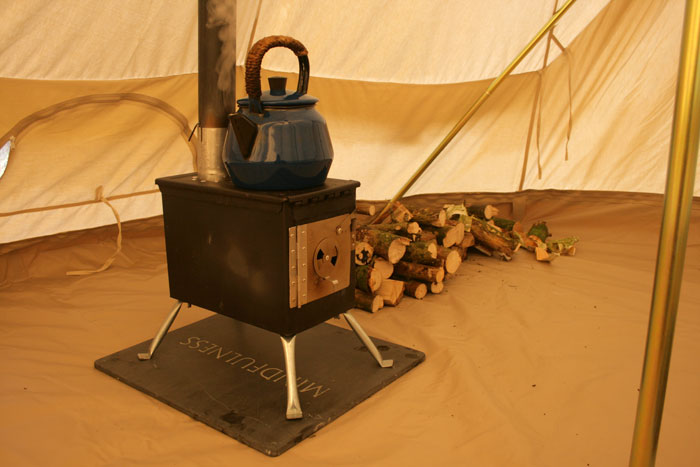
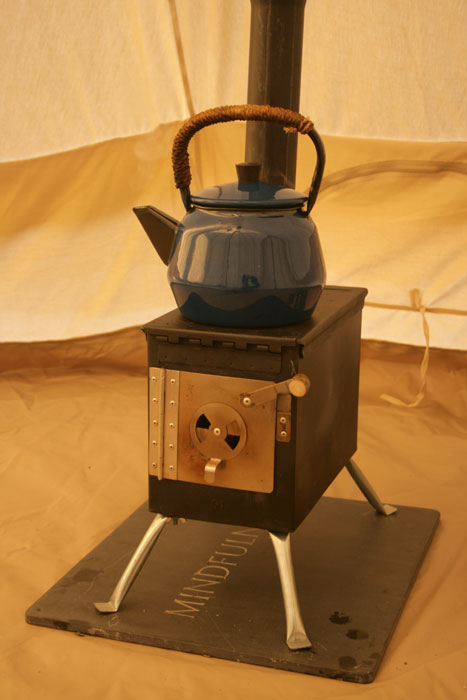
|
The finished stove inside the bell tent. Get the
kettle on!
|
||||
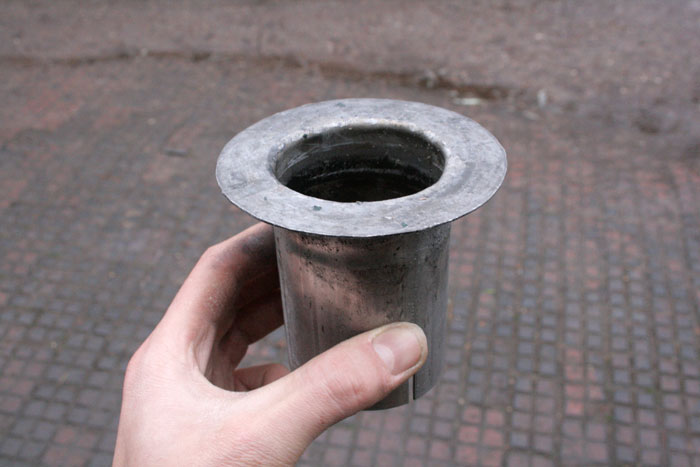
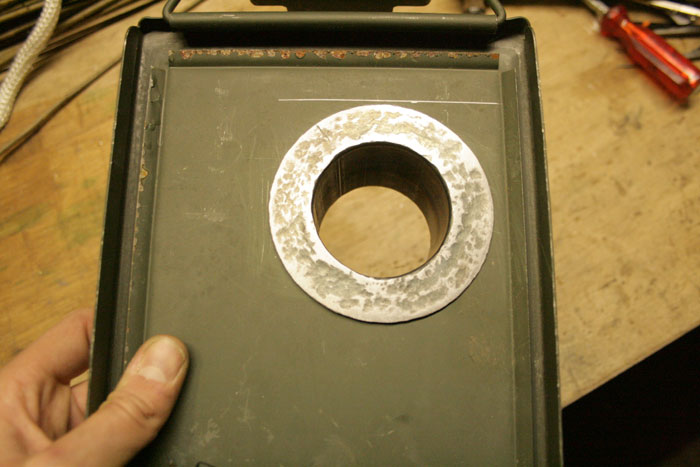
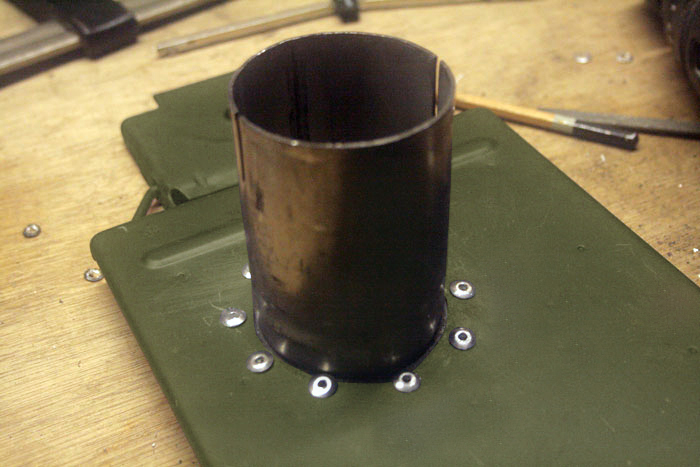
| Fitting the stove in a tent | ||||
You can buy a purpose made 'flashing kit' made for safely
passing the stove pipe through the tent roof. I purchased mine from
this website:
http://www.belltent.co.uk/truly_portable_wood_burning_stove |
||||
| Notes on operating the stove
Simply put, it's just a case of opening up the air
regulators on the door and in the flue according to how hot you want
the stove to burn. Generally I open and close the air regulators to
a similar amount at the same time. The first couple of times you
light the stove, do it outside of the tent and learn how it works.
You don't want any problems on your hands inside a canvas tent!
Sometimes a back-puffing problem can occur which is explained below: Also I have found that sometimes it's only wise to open the door when the fire has died back; like when putting more fuel on. You don't want the fire getting used to a level of oxygen that can't be maintained when the door is suddenly closed. Also It may help to keep the fire burning at a modest heat rather than banking it up and burning it like crazy! I recommend lighting your stove while it's not in the tent and practicing how best to operate it. with some practice these problems wont occur, at least not very often... |
||||
| Have fun and stay safe! | ||||
| Useful links: Recommended bell tent and stove companies: http://soulpad.co.uk/ http://www.belltent.co.uk/ 
|
||||