| |
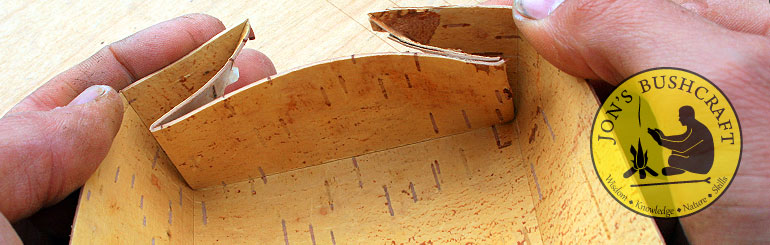
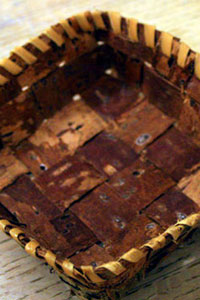
Folded Birch Bark Tray
Simple, Practical
and easy to make... |

|
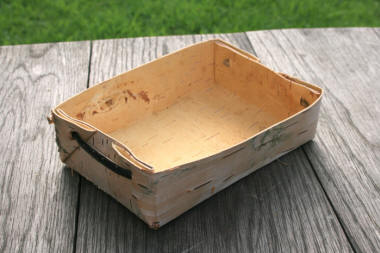
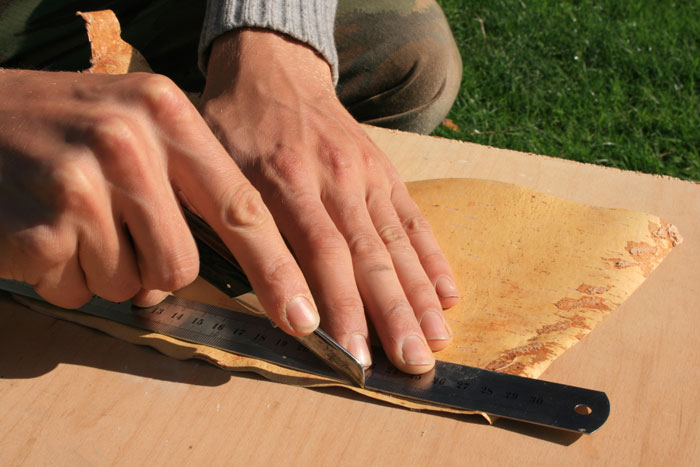
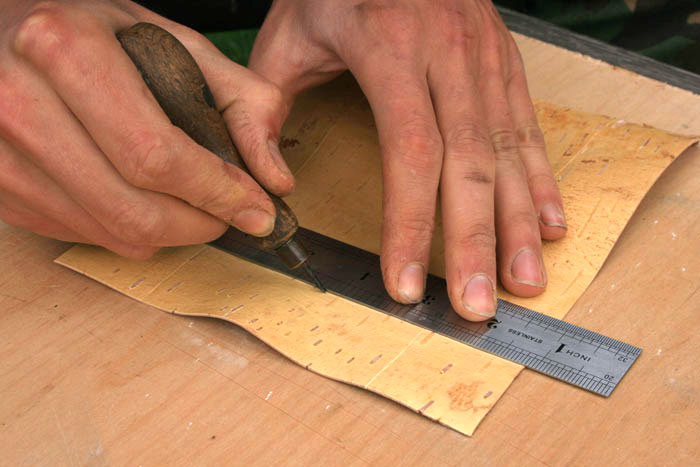
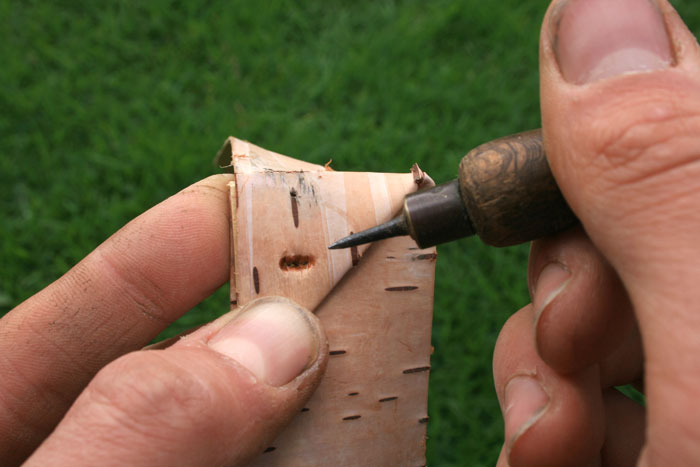
A rectangle
of bark folded in a few places and held in shape with a couple
of pegs is all that's involved in making these nifty little
trays.
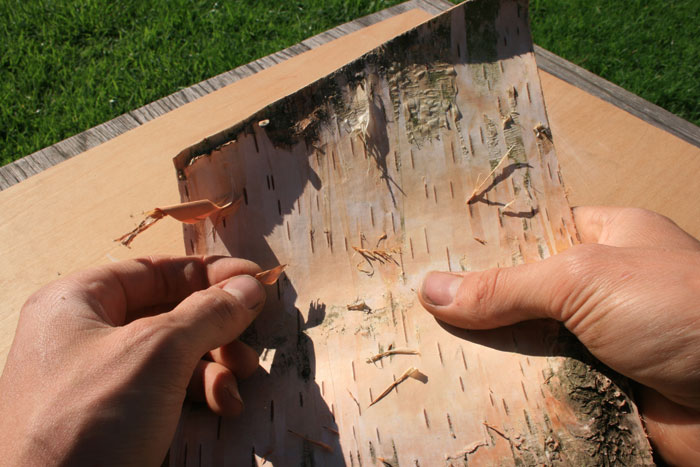
I always
prefer to use bark stripped from fresh logs for these kinds of
crafts; the bark is much more durable and flexible. I personally
harvest my bark in the summer months from naturally fallen trees
or timber left by forestry operations. You may need to inspect
several logs before finding suitable bark as the quality does
vary.
Just out
of interest, it is a myth that stripping the outer bark from a
living Birch tree will kill it. As long as the inner bark is not
damaged the tree will continue to live. The Birch will actually
re-grow its outer bark over the course of a few years. Although
stripping bark in this way is possible and commonly practiced in
more Northern countries; it would most certainly be viewed as
vandalism here in the UK.
|