 |
 |
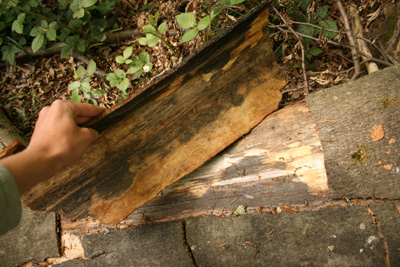
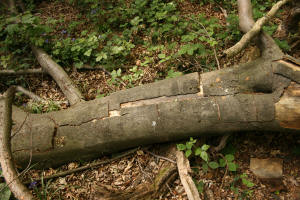
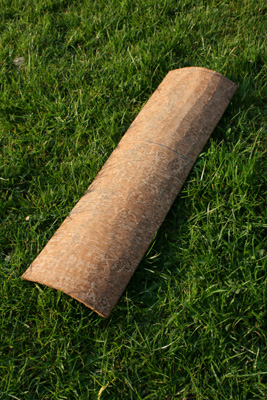
| I was
walking through the woods and came across a fallen branch from a
Beech Tree. It had been there some time and had dried out. The bark
had come away from the wood in curved sheets |
The bark is
hard and fairly strong like board when dry. |
| |
|
|
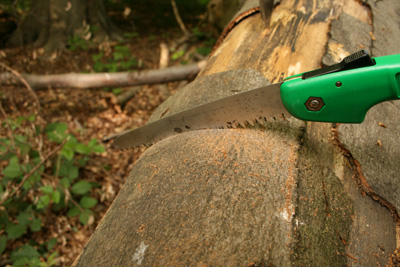
Cutting the bark...
 |
|
|
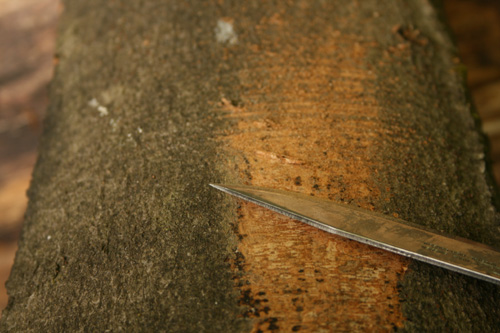
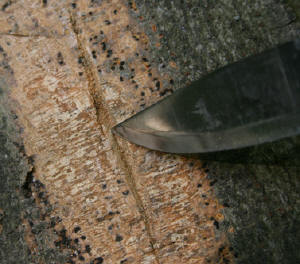
The bark can be cut easily with a
saw across the grain. |
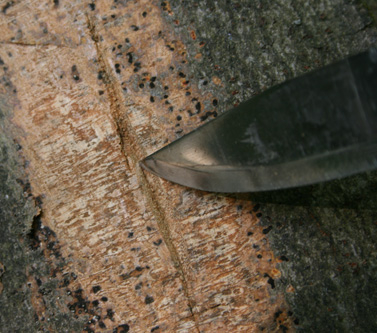
To
cut it length ways I find that scoring it repeatedly all the
way through works well. The bark is a little too brittle to
saw along the grain.
|
 |
|
|
You can always test your cutting methods
on some spare bark. I also found that it was really easy to drill neat holes just with
the tip of a knife. |
 |
 |
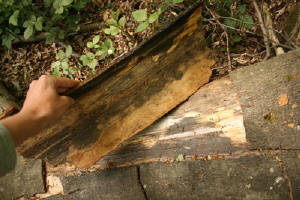
| To start
select a piece of bark with a good curve in it (like a gutter)
Then cut this into a length from which you can make the sides of
the container. You can
lightly shave off the outer dark bark with your knife to reveal
the orangey blown inner bark.
|
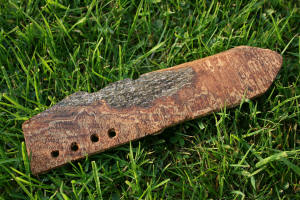
The prepared bark blank ready for the
next step |
 |
 |
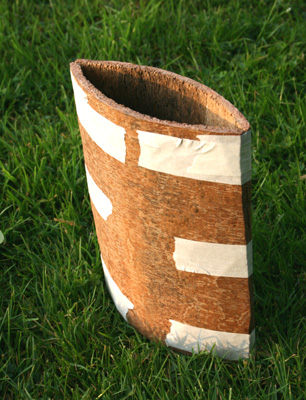
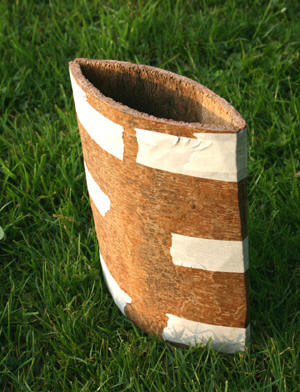
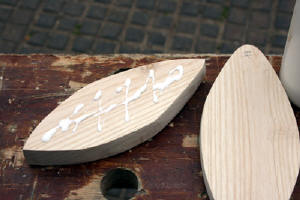
| Cut two side
pieces of an equal length. Then
glue them together with strong wood glue like so:
(It would have been nice to use some
kind of primitive glue such as Spruce or Pine resin, although
this was just going to be an item for use in the home, as you
will see in the further stages; this is not exactly a primitive
project...)
I used masking tape to hold the sides tightly together. |
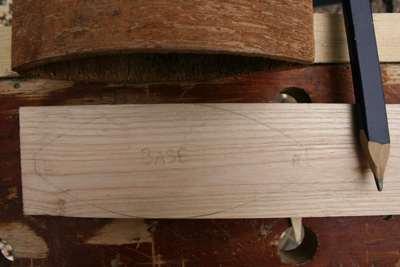
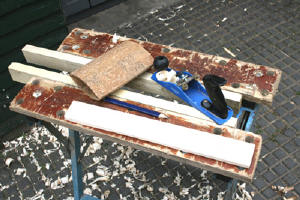
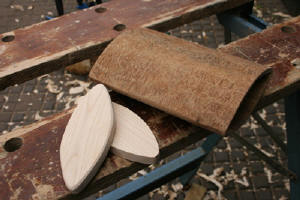
Once the glue is fully dry you can make the base and lid.
Start by carving a plank of wood (I used Ash wood) |
| |
|
 |
 |
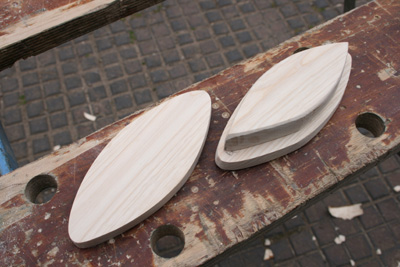
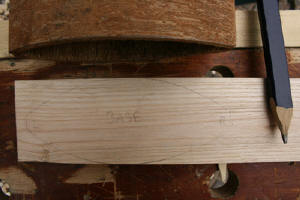
| Draw round the Base of the container onto the plank of
wood |
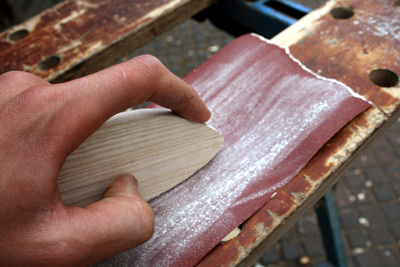
Cut the shape out and sand to the exact size |
| |
|
 |
 |
|
do the same for the top part of the lid. |
To make the part of the lid which inserts into the
container you will need to do the same again but draw around the inside of
the container. This part needs to be a snug fit (not too loose and not so
big that it will split the container) |
| |
|
 |
 |
|
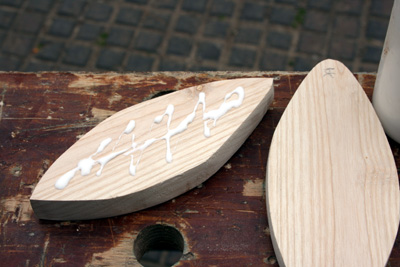
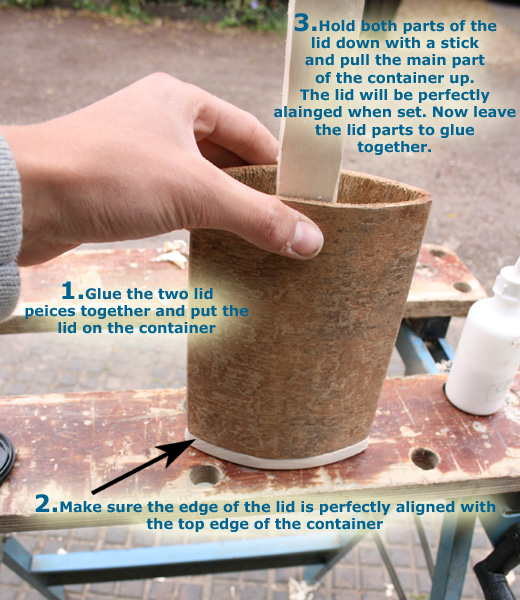
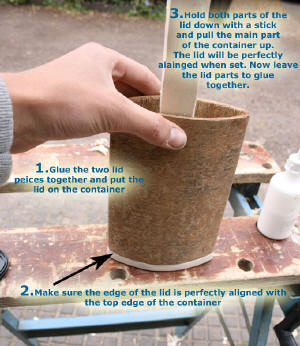
Glue the two parts of the lid together
|
 |
| |
|

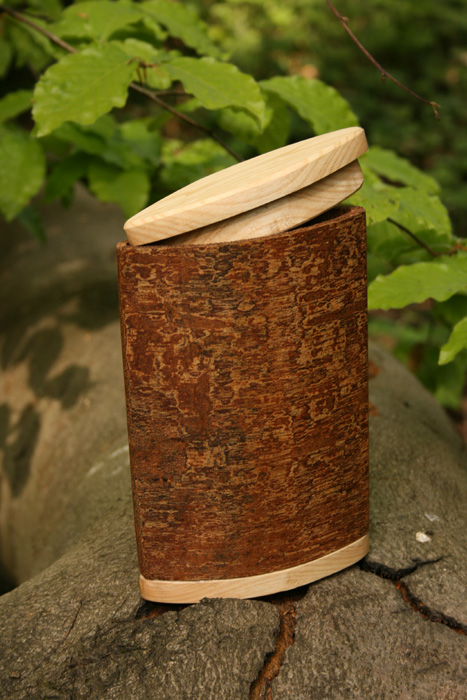
Stick the base on and leave the whole thing to dry.
You can oil the bark and wood to bring out the colour and grain. I just used veg
oil, mineral oil is best.
And there you have it!
Smaller versions could be made for
match boxes and all kinds of possible uses.
Have fun!
|