 |
|||||||||||
|
|||||||||||
Carving a Bullroarer If you are starting out in the world of Bushcraft the Bullroarer is a great thing to make. It involves simple carving techniques and you will need to make good strong cordage too! When finished you will have something to show for all your hard work and something that is good fun. Ideal for a beginner! The bullroarer has long been used by the Australian Aborigines in rituals and as a simple method of communication over long distances. When swung around above your head the Bullroarer creates a fantastic roaring vibrato sound that changes throughout its circuit.
|
|||||||||||
|
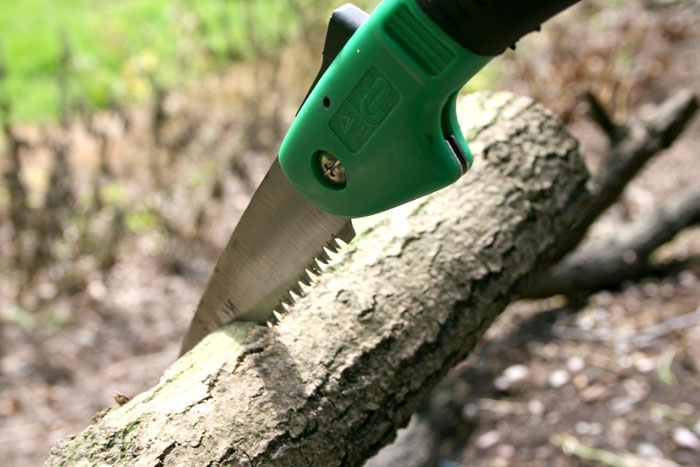
To start you need to cut a small section of wood either green or seasoned wood can be used. A piece of wood about as long as your hand and 3 - 4 fingers wide is a good size although Bullroarers have been made in a variety of different sizes, some as long as 60cm! I chose to use Ash wood because it has a nice grain and is durable too. |
 |
||||||||||
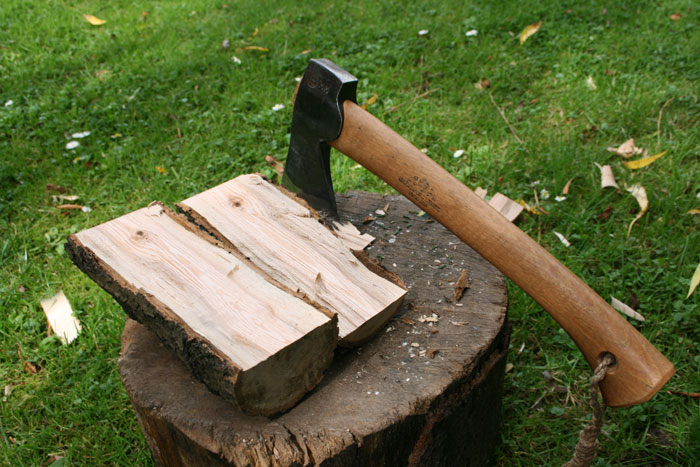
| Take your piece of wood and split it down the centre. |
 |
||||||||||
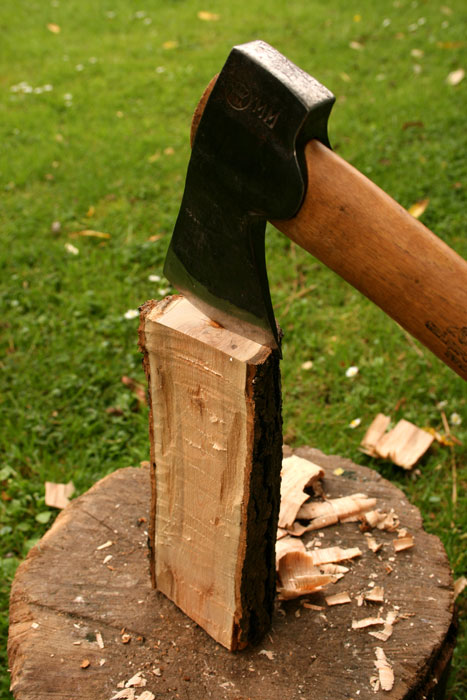
| Now take one half and split it again to create a small flat plank of wood. Split the wood wider than you need it. You can shave it down further to a desired thickness with your knife. If you do not have an axe you could easily use your knife and hammer it into the wood with a wooden batten. |
 |
||||||||||
| Now that you have your plank of wood you can shave each side smoother and to a desired thickness. You can now begin to give your wood a bit of shape. Draw on an outline as a guide if you wish. |
 |
||||||||||
| Carve the basic shape until happy that both sides are symmetrical |
 |
||||||||||
|
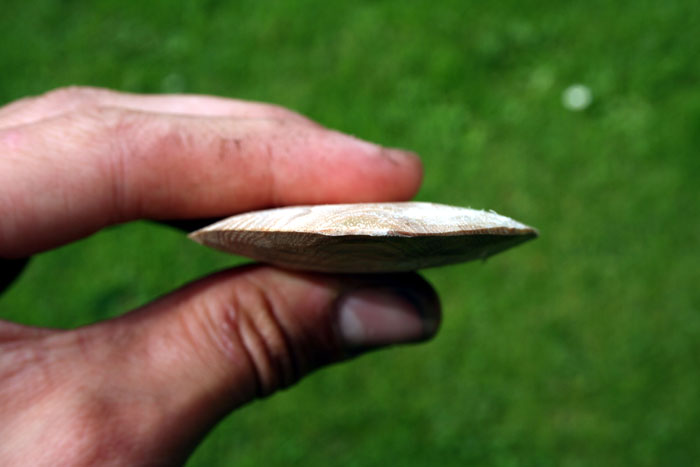
You now need to carve your Bullroarer so that when you look at it from the end the cross section will be like this: |
 |
||||||||||
|
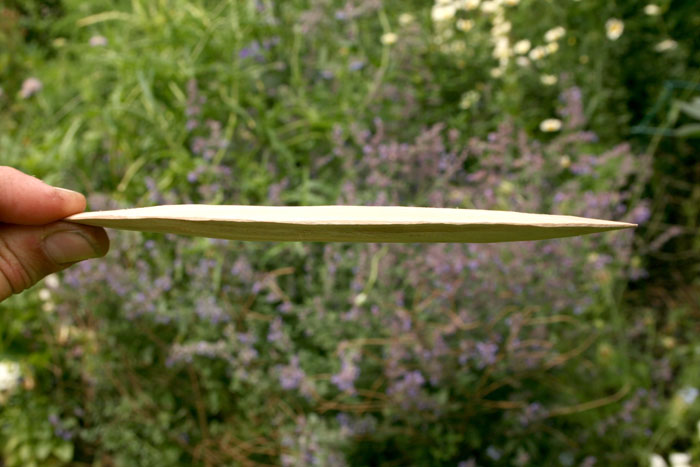
and you also need to carve it so that when looked at from the side it looks like this: |
 |
||||||||||
|
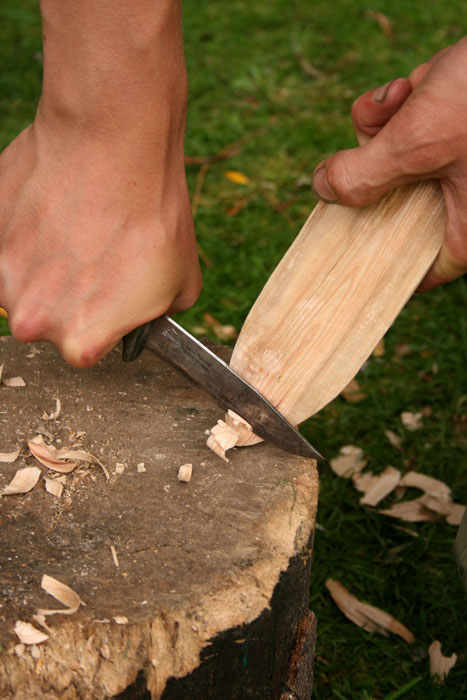
To achieve this simple shape you are going to need to carve wood off the ends and sides so that the wood gets thinner towards the edges. |
 |
||||||||||
|
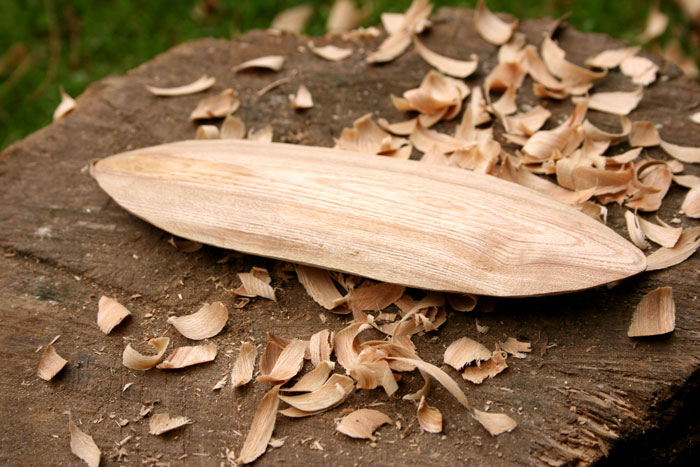
That’s the basic Bullroarer made! All you need to do now is attach a string and give it a whirl! Making your own string is much more fun! You can sand the wood if you wish but that is not essential.
|
 |
||||||||||
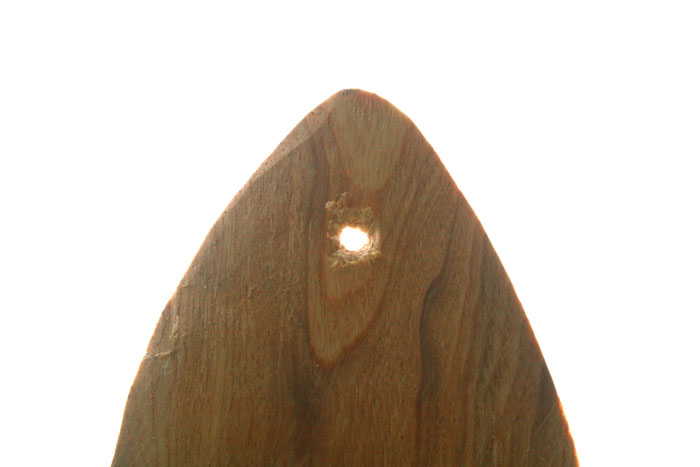
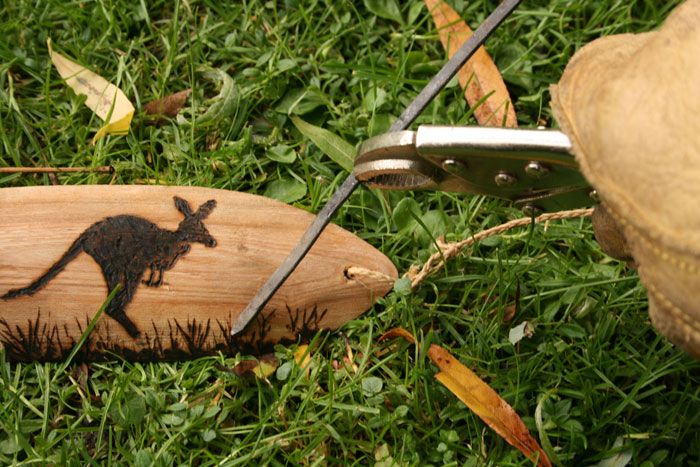
| Make a small whole with the point of your knife through which you can tie your string. Be careful not to split the wood when doing this! |
 |
||||||||||
|
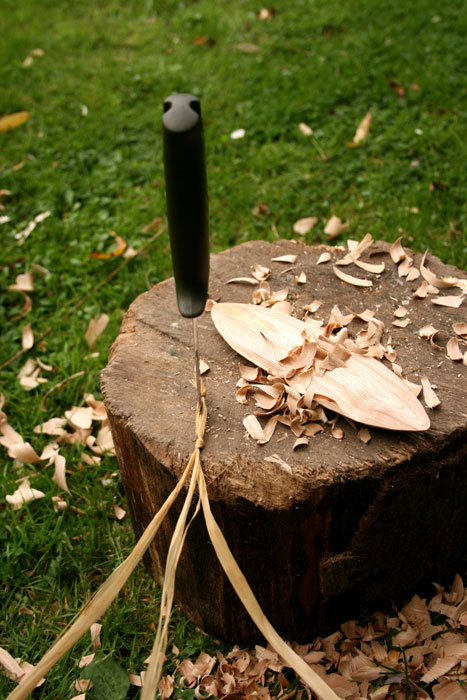
If you are making your own string I would advise not to make a simple twisted two strand cord because the twists will just unwind. A three strand plait will be perfect. Use strong fibres like those from nettles or lime bark. Your final cordage needs to be very strong otherwise it could be unsafe to use. It will be easier to plait if you have a little bit of tension on the strands. I simply secured the fibres to my chopping block with my knife as shown in the picture
|
 |
||||||||||
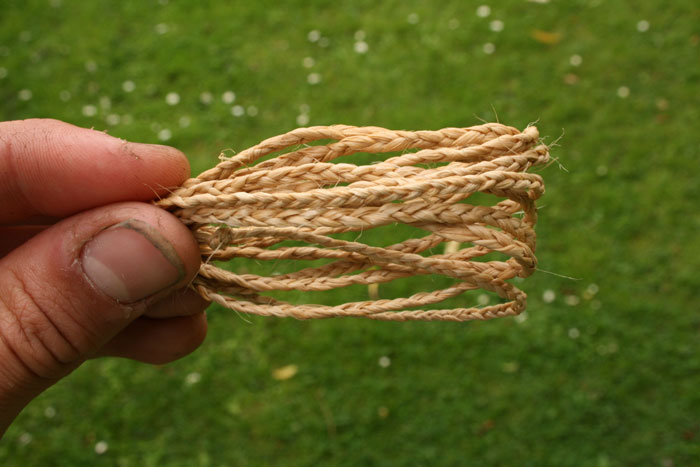
| Finished string. 1.5 meters (5 feet) is a good length. |
 |
||||||||||
| Tie the string on to complete the Bullroarer! |
 |
||||||||||
|
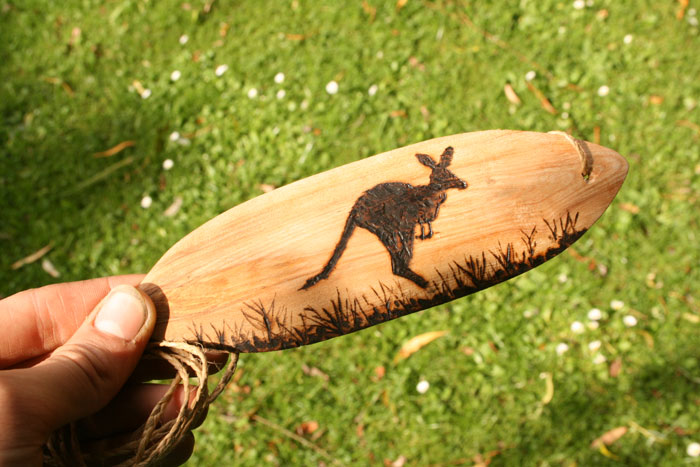
You may wish to decorate your Bullroarer in some way. In this example I burnt a kangaroo into the wood using some metal kebab skewers heated till red hot on the fire. Another possible option would be to paint your bullroarer with a wacky Australian design. |
 |
||||||||||
|
If you decide to burn a design into the wood it is a good idea to hold the kebab skewer further towards the end to give you more control. And remember safety! Always wear leather gloves when working with hot metal and never touch the red hot skewer! Heat the skewers up on a red hot fire. It’s a good idea to have more than one skewer on the go because they tend to cool down very fast.
|
 |
||||||||||
|
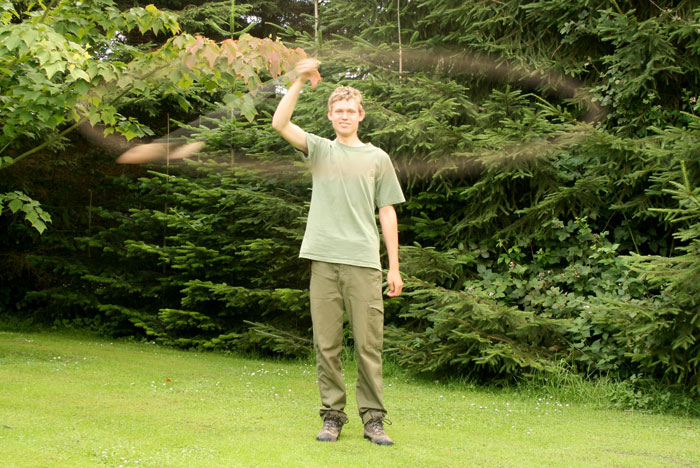
The test. Hold the end of your string good and tight and let the wood dangle. Give it an initial spin and then swing it up and above your head. Roar!!!!! The faster you go the louder the roar. Due to the shape of the bullroarer it will keep spinning and roaring after the initial spin. Have fun and be safe! |
 |
||||||||||
|
|