| |
|
Carving a Bushcraft
Comb |
|
|
| |
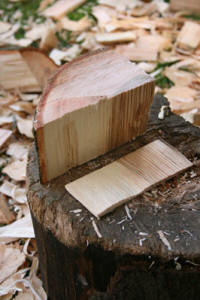
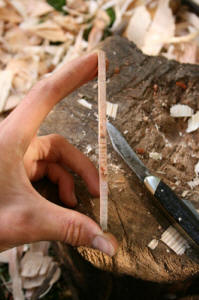
Split a slither of wood
from a block. The
grain should run perfectly straight and vertical so that the teeth of the
comb will be in line with the grain. I
have chosen Ash wood because it is strong and durable, most hardwoods
would be fine, in particular I think Elm or Yew would work well too. When the wood seasons it
will become harder and stronger.
Note: Using a slither of wood from the
side of the log (parallel to the bark) would have made the
comb even stronger. The growth rings would have been more parallel with comb
giving it strength
horizontally too. |
|
 |
|
| |
 |
|
 |
|
| |
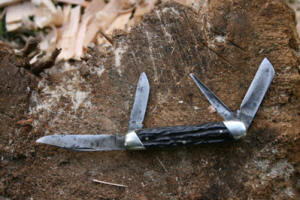
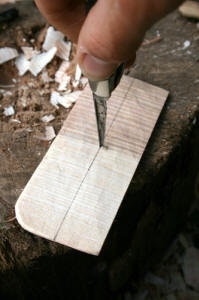
This pocket knife turned out
to be a handy tool for this carving job since the blades are smaller and
easier to use for the intricate work. It also has a reamer for drilling
holes which you'll see is quite useful. |
|
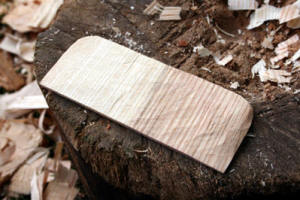
Carve the sides of the comb blank smooth and
straight. |
|
| |
 |
|
 |
|
| |
I also rounded the top two corners. |
|
Draw a straight line across the wood as a guide
to where the top of the teeth will start.
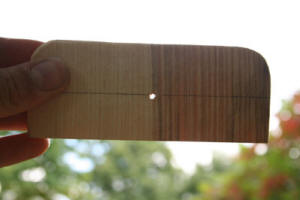
My technique was to then make a small
hole in the centre with a reamer (alternatively you could use a drill-bit,
an awl, or perhaps the tip of your knife if you're careful) |
|
| |
 |
|
 |
|
| |
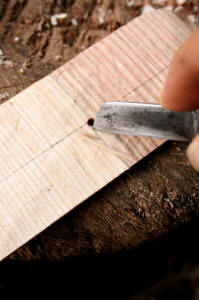
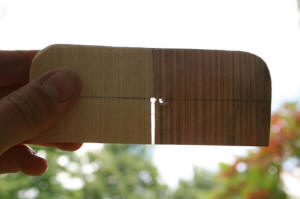
I
then carved out a thin line of wood between the hole and the bottom of
the comb. |
|
| |
 |
|
 |
|
| |
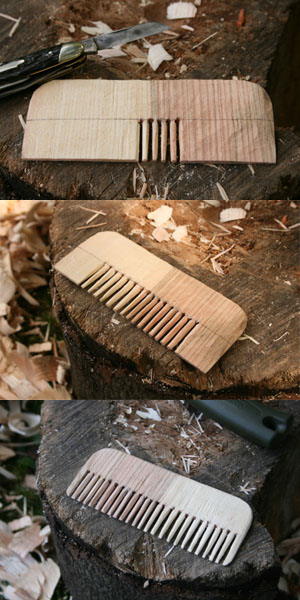
More holes and slots are carved to form the
individual teeth. |
|
|
| |
This takes some time but is a satisfying job. Finally Round each tooth off
on the sides and point the bottom slightly.
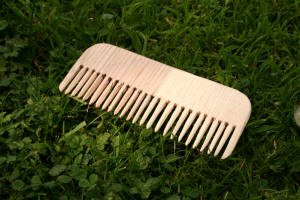
The finished comb |
|
|
Back to articles page
|
