|
Making a Large mortar and pestle |
|
Whether you want to make a
small mortar and pestle or a large African style version, burning the
mortar cup out using hot coals is an effective method. This technique
can also be used for making many kinds
of other utensils too. If you don't have a spoon knife or just want to get
more primitive then
this is the answer.
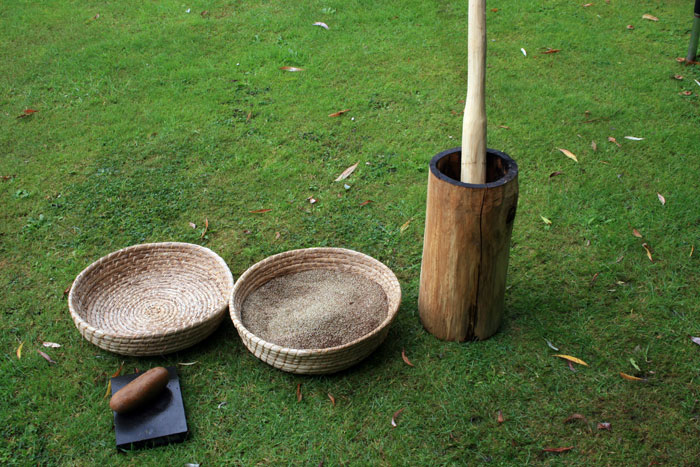
Since making this mortar and
pestle a few years ago I have used it countless times as part of
processing many types of foraged seed and nuts into food, particularly
Pendulous Sedge seed and Acorns. It has also come in handy for grinding
tannin rich materials such a Oak galls, Walnut husks and many types of
tree bark which I use for tanning skins.
|
|

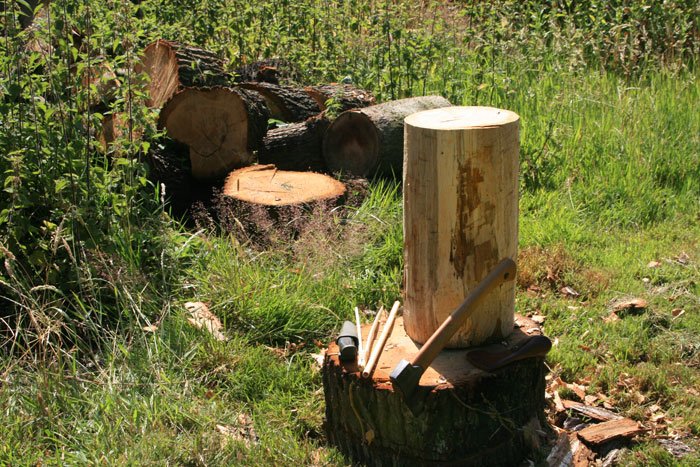
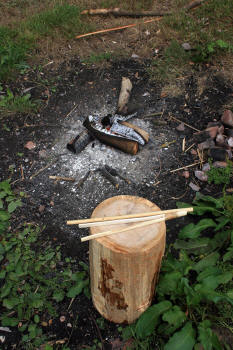
Start out with a log of hardwood, I am using Oak, it is important that the
wood is completely seasoned otherwise it would likely split severely as
it dries. (If
you wish to prepare food in your finished mortar be sure to use a
non-toxic wood.) Removing the bark can be a good idea as this can
harbour wood eating beetle larvae. Any undulations in the log's shape
can also be rounded off using a sharp hatchet, as I did. Make sure the top and
bottom are cut nice and level too.
|
|
|
|
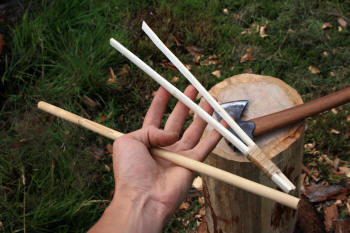
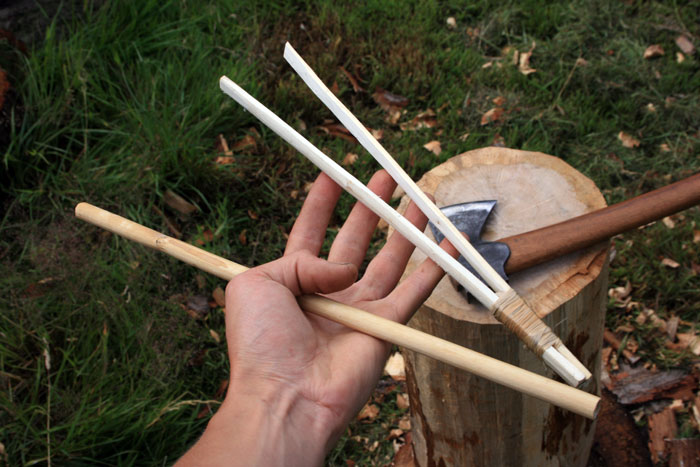
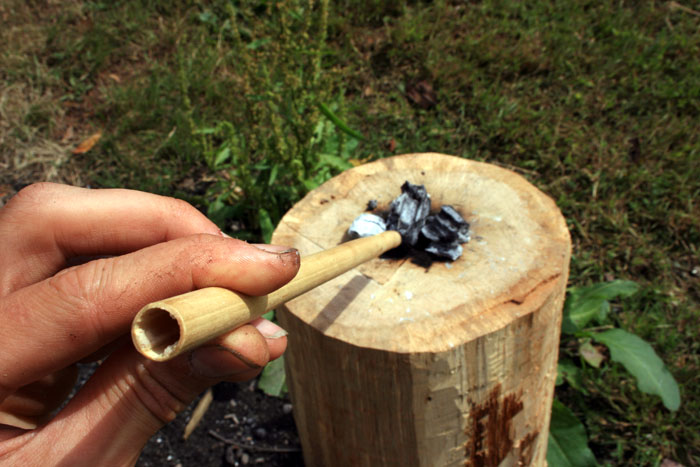
Before we get burning you'll need some kind of straw through which to
blow air at the hot coals. Encouraging the burn rate in this way is
essential. A straw can easily be fashioned from a stem of elder by
pushing the pith out, a stiff piece of fencing wire can be used to do
this, alternatively it could be rodded/ drilled out with a thin shoot of
wood such as Willow. (SAFETY WARNING: although I
use elder for this job, I have to state that this wood is classed as
mildly poisonous. Someone once told me that there are compounds in
the wood which break down into hydrogen cyanide, so this could
potentially be very dangerous, especially for children. Alternatively,
you could use river cane, or knotweed.)
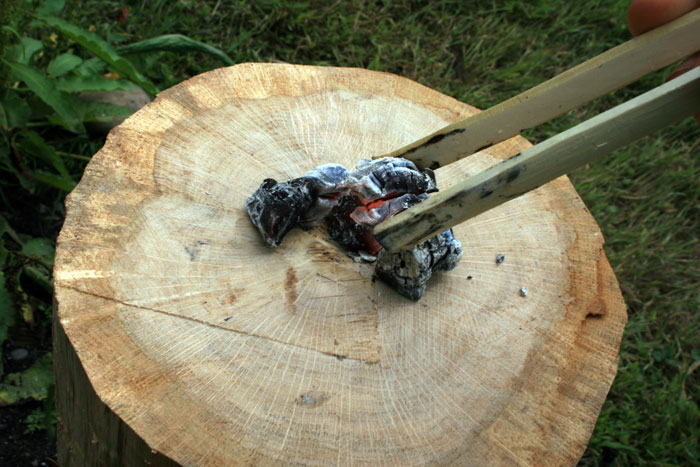
A large pair of tweezers will make life easy when transferring
coals from the fire to your log. A small wedge bound between the ends of two
flexible flat pieces wood does the job for this.

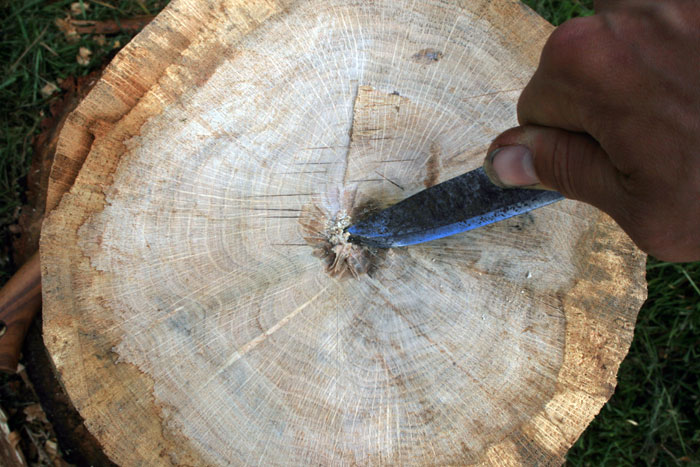
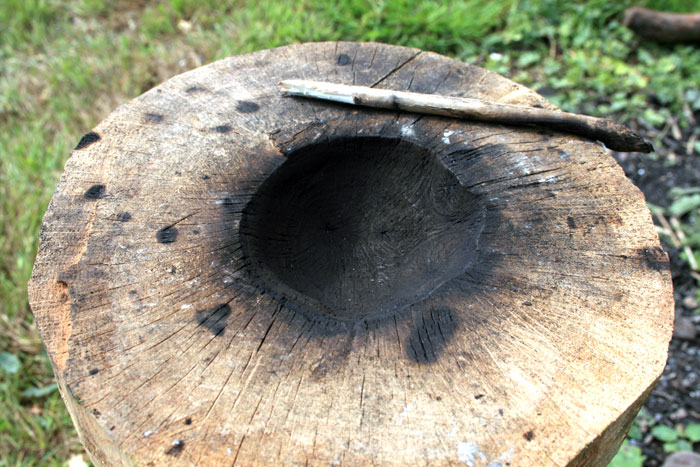
As a starting point and also to help the hot coals get a purchase on the
wood, use a knife to make a small depression in the centre.
|
|
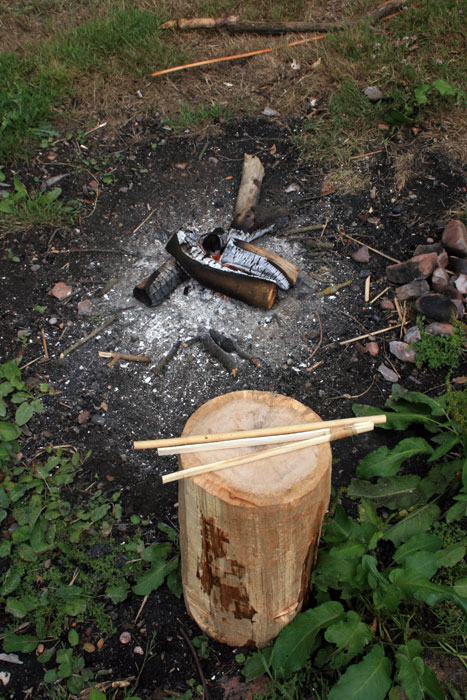
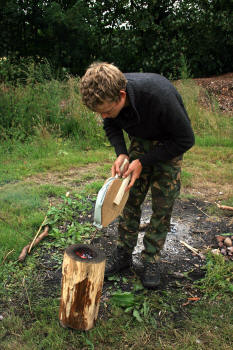
Start your fire and you are all ready to go
|
|
Take some good coals from
the fire and place in the depression, now blow on them...
|
|
|

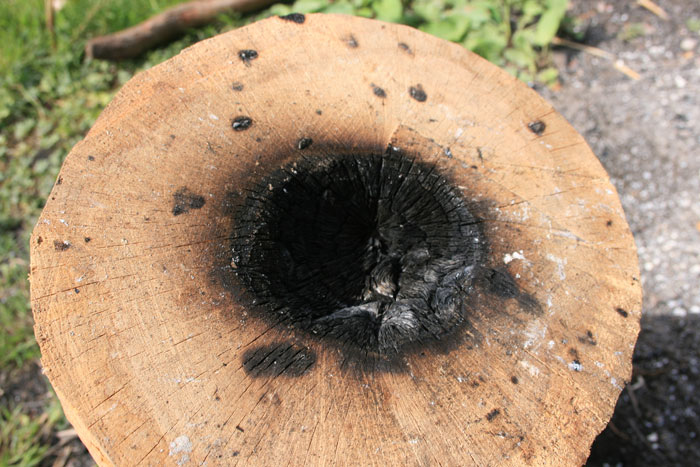
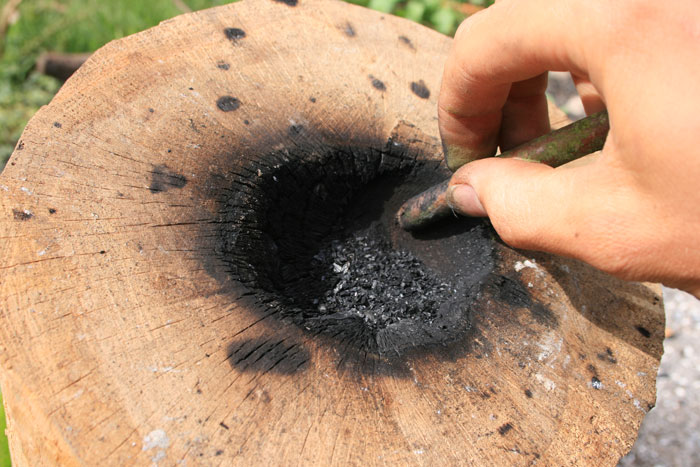
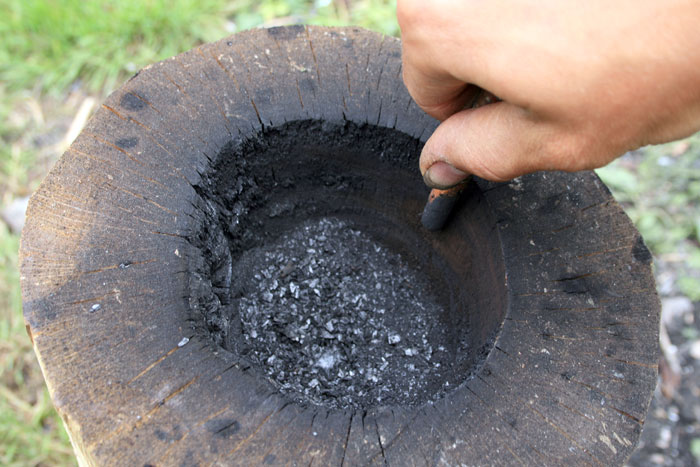
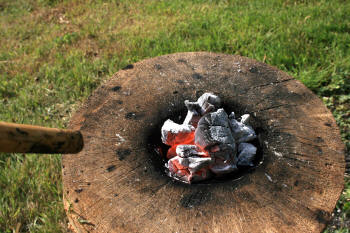
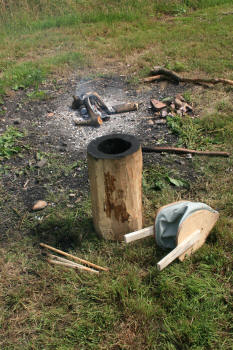
Keep blowing air until you make your first good depression. You may notice
that progress will slow down due to an eventual build up of thick
charred wood. At this point remove the coals and scrape it out with a
stick.
Now add fresh coals and continue to burn the cup bigger.
|
|
|
|
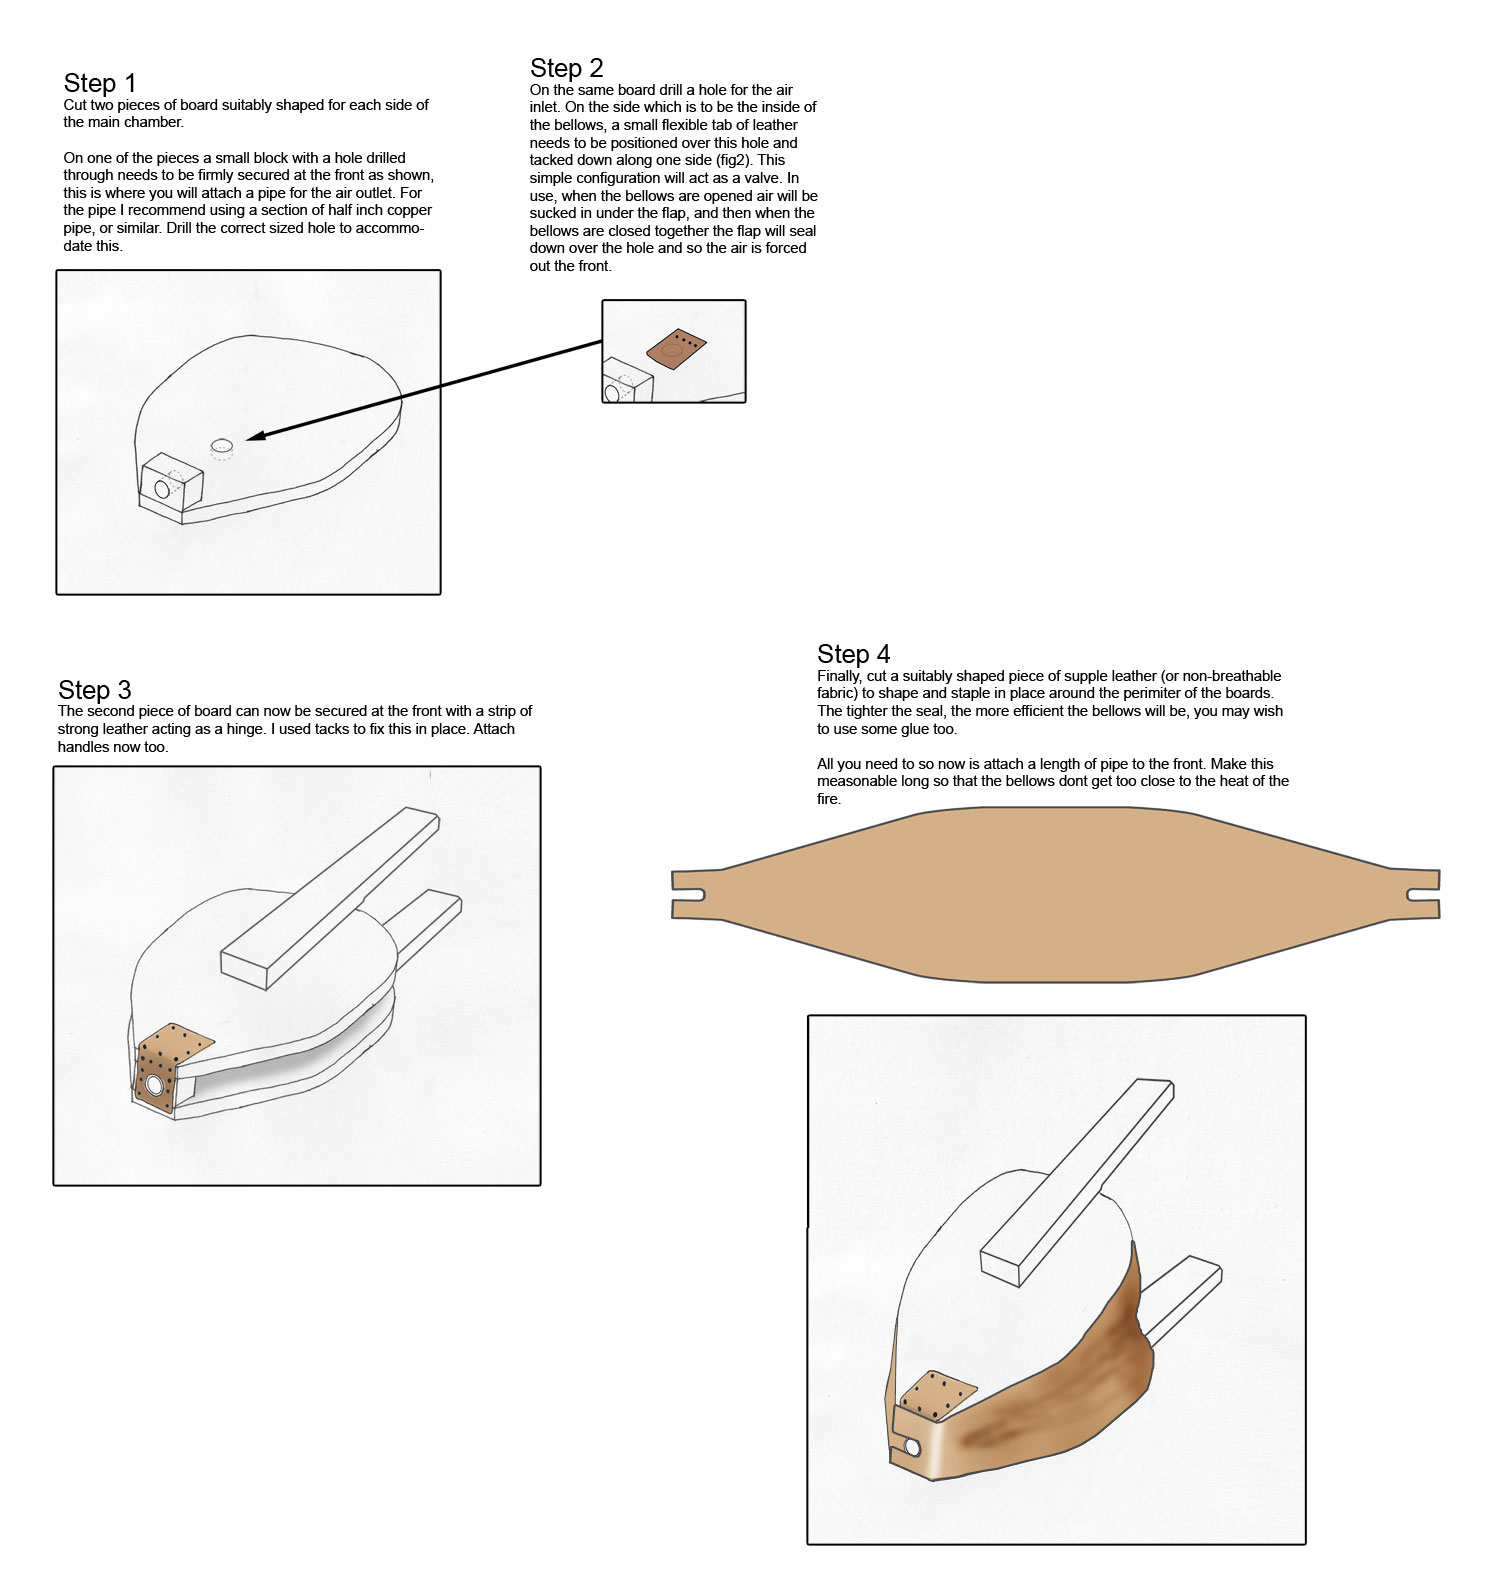
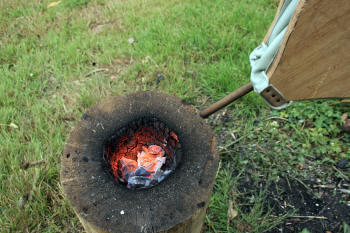
On a large project like this I decided to save my lungs a lot of effort
and make a pair of bellows. This is a much faster method if you have the
materials. They can be made from some scrap plywood, and leather (I used
leather saved from an old sofa). The following is an overview of how I
put mine together:

Note: For the outlet pipe on the bellows I
started with a section of bamboo but later changed this for a long
piece of copper pipe so that the I could stand further back (the heat was
damaging my bellows). |
|
  |
|
 |
|

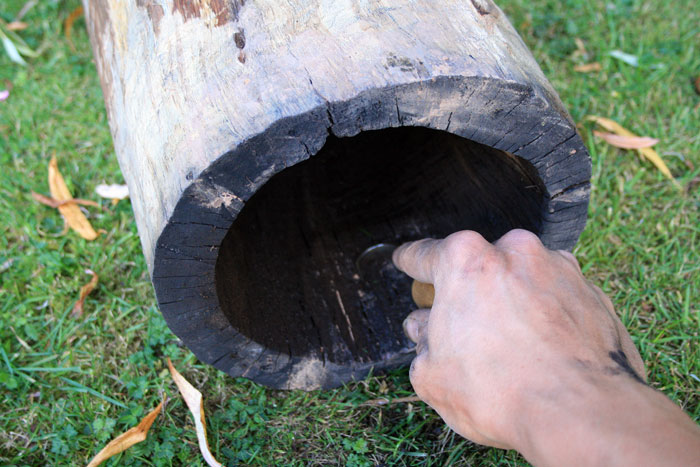
Constant burning and scraping is the name of the game. Keep going until
the mortar cup is as big as you'd like. This can take quite some time... |
|
Some areas will probably burn faster than others
which creates inconsistencies in the cup shape. You can protect the
thin areas from further burning by shielding them with clay.
|
|
|
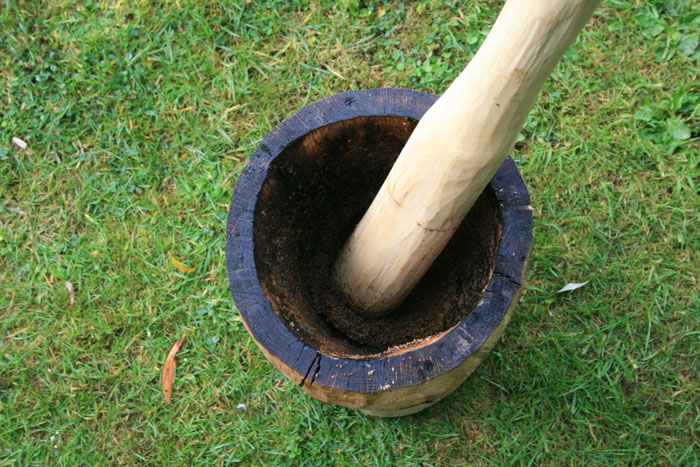
When the mortar cup is the
desired depth and size give it a more thorough scrape out, a crook knife
was a handy tool for this. I also gave the outside a final smooth
off with a draw knife.
|
|
|
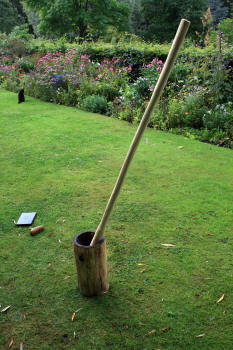
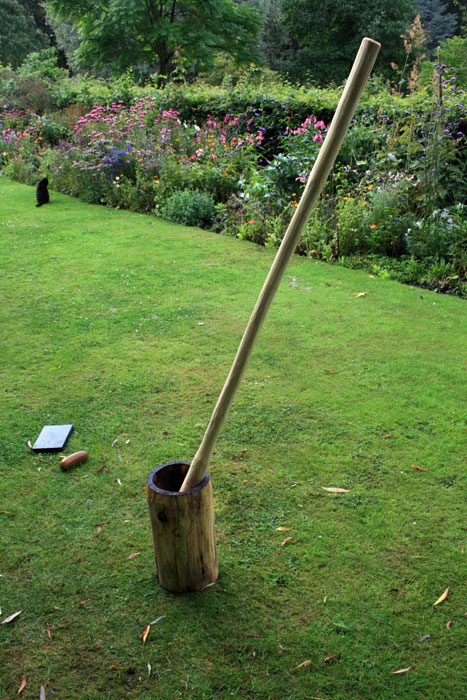
The large pestle is easy enough to make from a hardwood sapling. I thinned down
the middle section, leaving a thick portion at the top and bottom (at
the top too because I believe this makes the pestle feel more balanced
when in use). Finally, round off the end to be used for grinding. |
|
  |
|
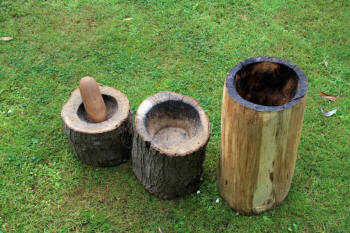
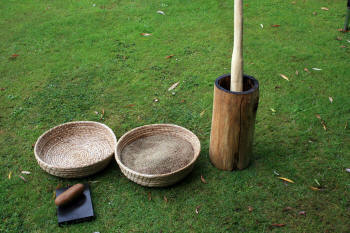
A selection of mortars. Smallest pairs up with a nice
Quartzite stone that I found in a crop field.
|
| |
| |
| |