 |
|
|
|
How to gather and process nettles
for cordage making fibres |
|
Similar to trees, nettles have an outer ‘bark’
layer, inside of which is a woody stem. It is the outer bark
layer which contains the useful fibres; the inner woody stem is
brittle, straw-like, and has no real use. The two need to be
separated in order to make use of the fibres. This process will
be explained below, but first the plants need to be harvested
and stripped of their leaves and stings.
Harvest - Removing Leaves & Stings:
Mid to Late
summer is the best time to harvest nettles, by this time they
will have reached full height, and that means long fibres. The
fibre will also be much stronger at this time compared to the
more tender nettles of spring and early summer. It is also
interesting to note that nettles which grow in sunny places tend
to have more of a purple coloured stem, and these have stronger
fibres.
|
Believe it or not, with just bare hands it is possible
to harvest nettles and strip them of leaves and stings
without being stung. However you’d have to be very
thick-skinned to not get stung if you’re processing any
great quantity, so it is advisable to wear gloves (e.g.
gardening gloves). Nevertheless, the skill of being able
to do this bare handed holds some value, perhaps you
might casually be out sometime and just need a couple of
nettles for something. Anyhow, the process is pretty
much the same whether you’re wearing gloves or not:
The method:
1.
At
the very top of the nettle, pinch the growing tip with
one hand, lean the nettle over, then cut through the
base of the stem using a knife with your other hand.
2.
Now, with one hand, grasp the very bottom of the stem
between finger and thumb. Just above grasp the stem in the same
way with your other hand. Note: If you are doing this
bare handed, handling the stem boldly with confidence
should prevent you from being stung.
3.
Pull the stem through your hand, this will rub off the
leaves and stings along the way. Repeat a couple of
times, if any leaves remain attached, pluck them off.
This process will give perfectly clean sting-free stems.
|
 |
|
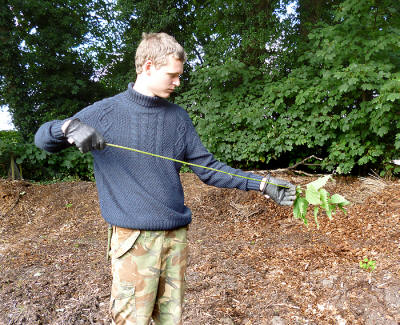
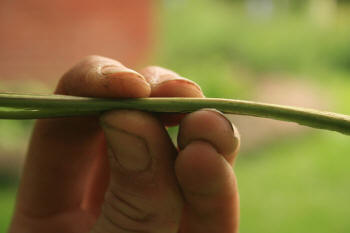
A nettle being pulled
through the hand from base to tip stripping all
the stings and leaves along the way. |
| |
|
 |
|
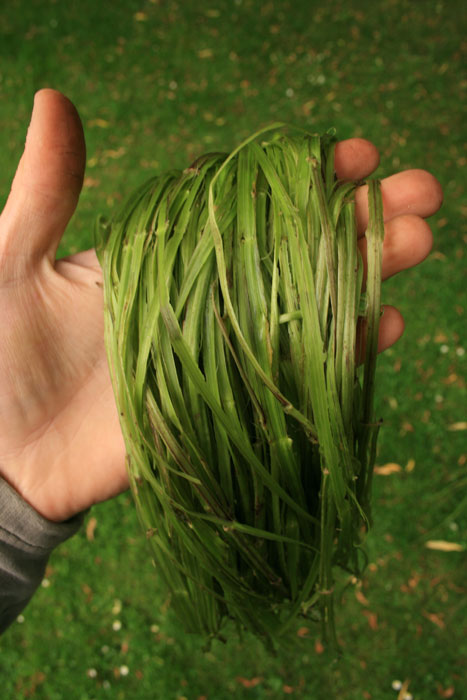
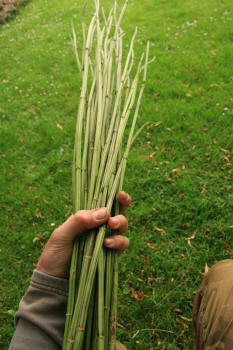
A bunch of sting-free,
leaf-free stems ready for the next stage. |
|
|
|
| |
We will
now process each stem individually until the useful fibres are separated
from each. Here's what we do: |
| |
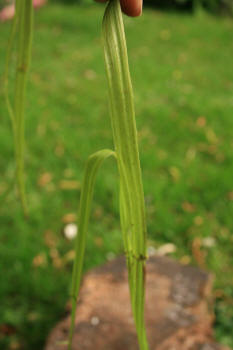
1 -
Squash the hollow stem structure Take a stem and
squeeze it between your fingers as pictured to crush the hollow
tube-like structure. You will need to work along the length crushing the
stem like this from one end to the other. The nodes (where leaves grew
from) are quite tough and take some extra persuasion to flatten out. |
 |
| |
|
Crushing the stem between fingers |
| |
|
|
| |
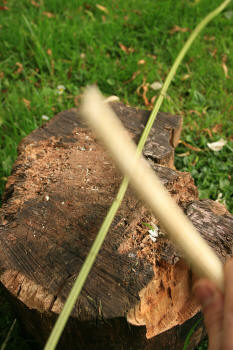
An alternative method for this
is to LIGHTLY beat the stem using a smooth round batten of light-weight
wood. Using a log as an 'anvil' works well. You are aiming to squash the
tube-like stem but not damage the fibres in the bark layer. This is
quite an easy process and is not so hard on the hands, especially if you
are processing a lot of stems. |
 |
| |
|
|
| |
|
|
| |
|
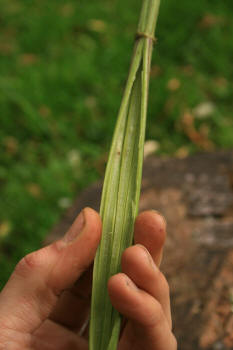
2-
Open out the stem flat The stem
which was round with a hollow centre is now opened out flat along its
length. Prize it open with your finger nails as pictured. |
 |
 |
|
| |
|
| |
|
| |
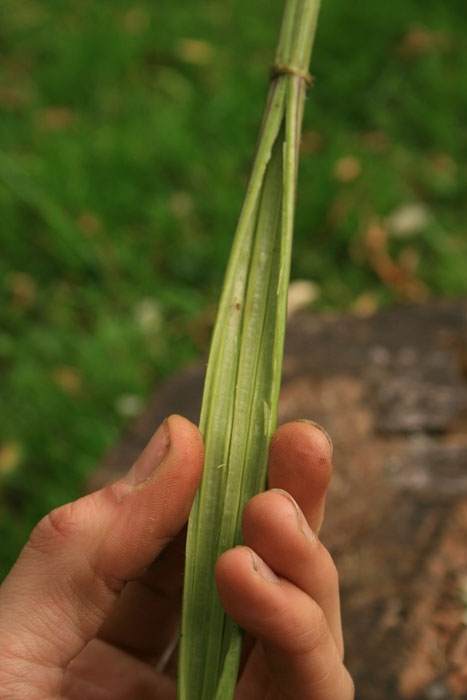
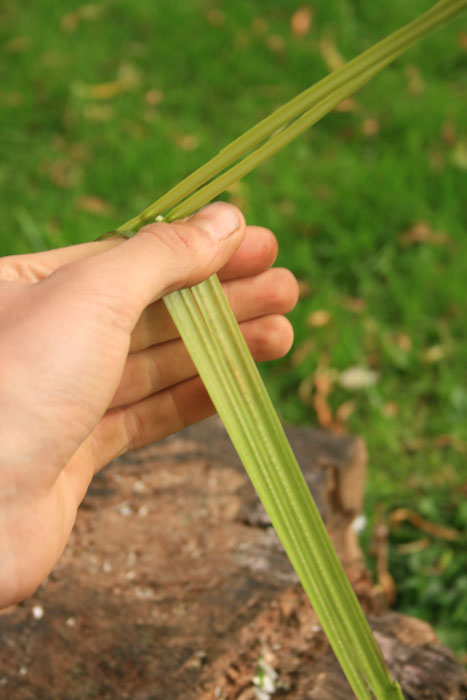
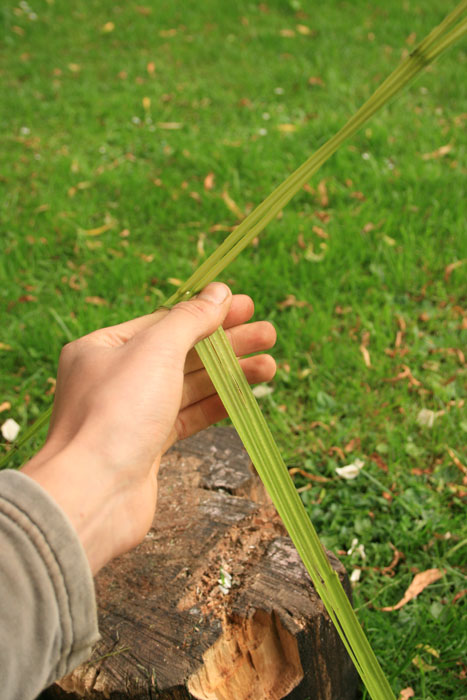
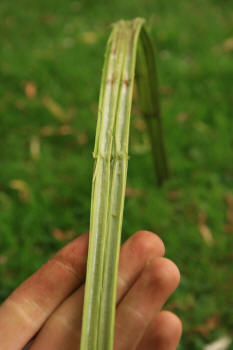
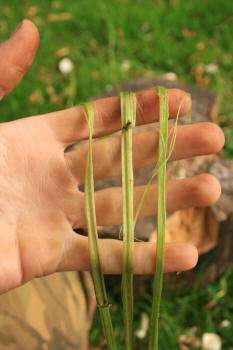
| 3-
Separating the bark layer Hold the
opened-out stem in your hands with the outer bark side facing down. About
half way along give the stem a snap. The woody fibres will break and the
outer bark layer will remain intact. At that point, you can now
start to
pull the outer bark away from the woody
material as pictured. Because
the woody material has been snapped in two, each half is peeled
away separately, one half and then the other, working from the
mid point where you made the snap toward the ends of the stem.
There is a very quick way to do this:
Loosely hold the bark stand between your thumb and first finger
in the middle where you made the snap,
then pull the bark stand between those fingers with your other hand. The
stiff woody material will ride up over the top of your thumb and be separated
with ease. Repeat, going the
other way to separate the other half of the woody material...
|
|
|
| |
|
|
| |
|
| |
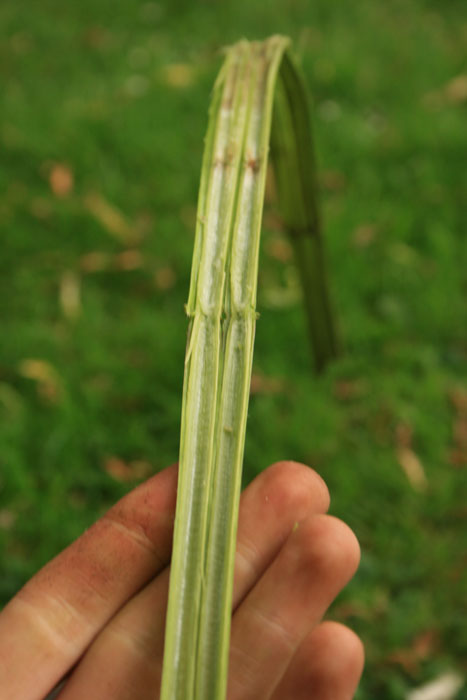
| 4-
Splitting into finer strands
The wide strip of fibres can be torn
into thinner strands which will be more suitable for making fine
cordage.
You may even notice that the strip of fibres
even looks to be made up of about three or four strands, they just need
pulling apart. The split will run straight, it's an easy job.
|
 |
 |
| |
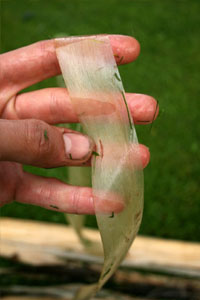
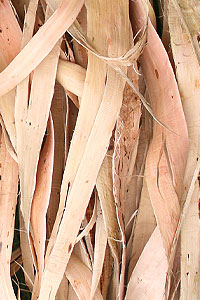
|
Strands of fibres from one Nettle. |
|
| |
|
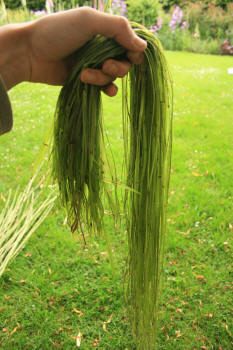 |
Many nettles worth. |
|
| |
|
|
| |
|
|
| |
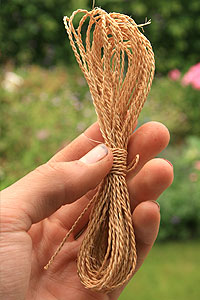
| 5- Dry
These fibres now need to be dried. Hang them
up somewhere, separating the fibres out somewhat so that the air can
circulate around them. If put in the sun on a hot day they can dry in
just a few hours.
Your nettle fibre can now be twisted together
to make cordage! When you are ready to do that, the only thing you need
to do is re-hydrate the fibres by soaking them for a short while in
water. For a
full article on the techniques of cordage making, click
HERE |
 |
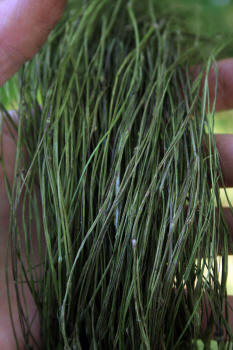 |
| Fresh fibres before drying |
After
drying. Much thinner. |
|
|
|
|
|
Related Articles & eBooks
|